Importing a Business Account
Users can follow these steps to create a Business Account.
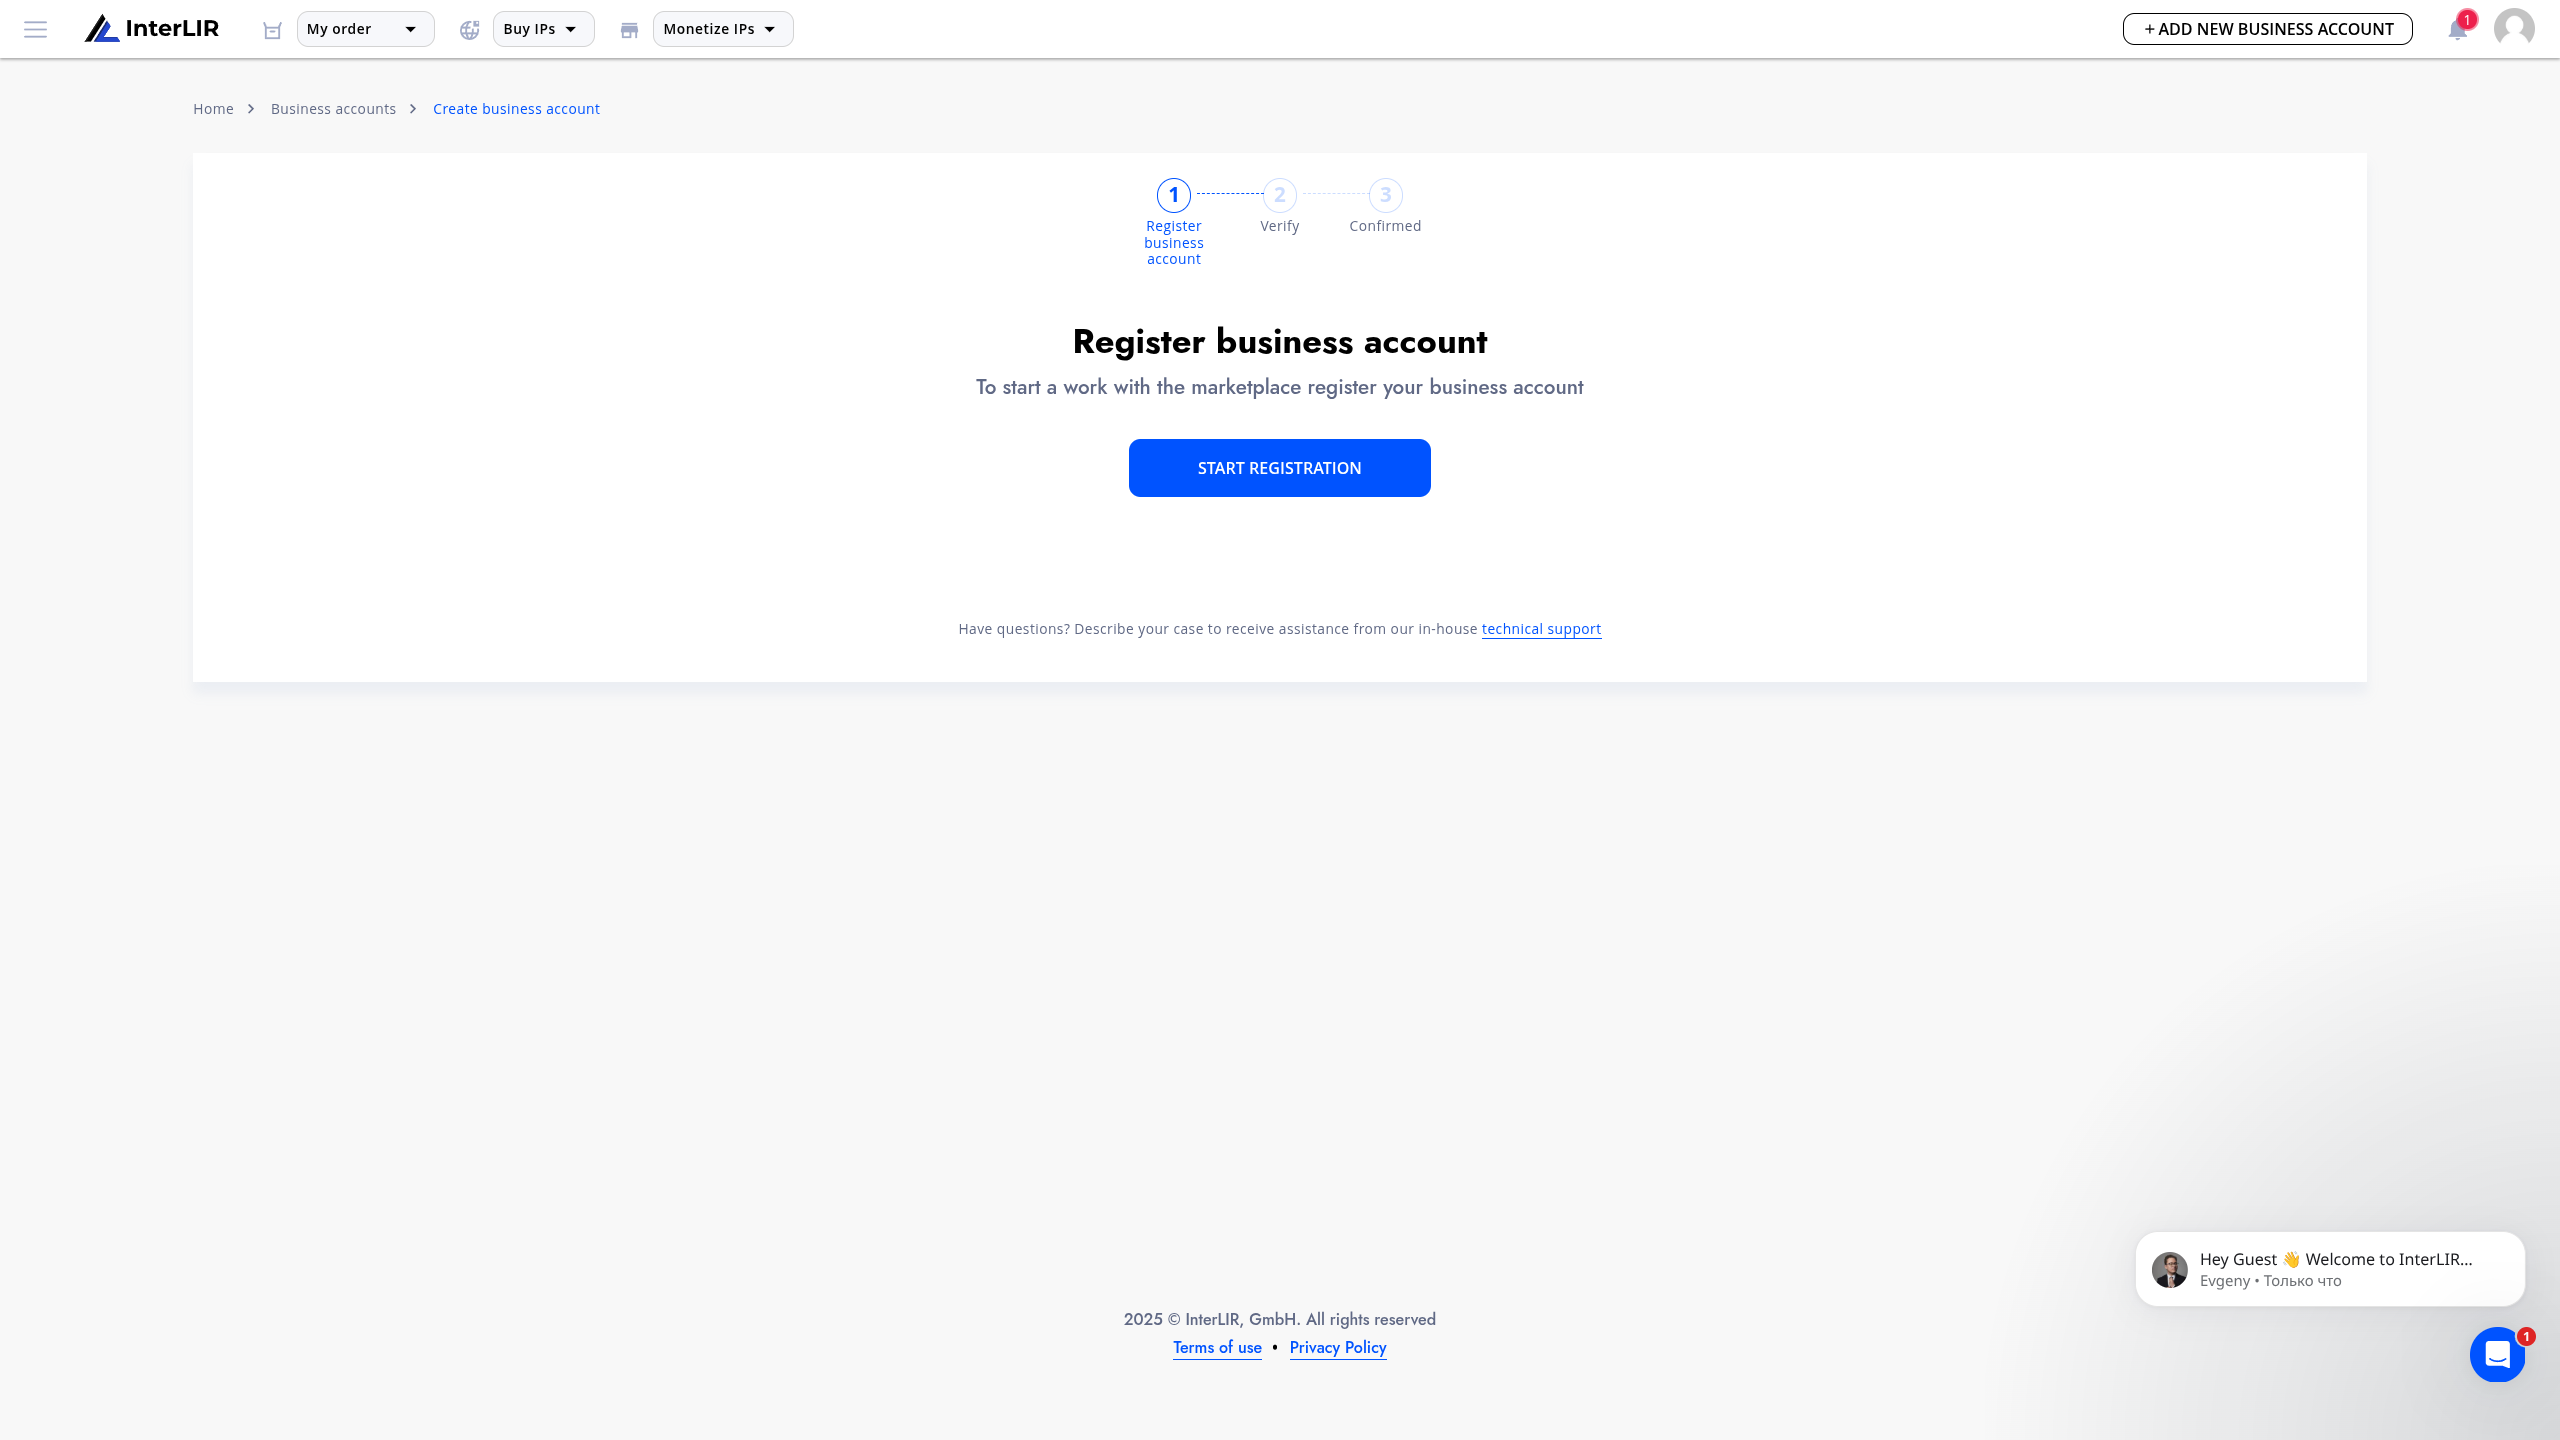
1. Accessing the Business Account Creation Page
The user navigates to the page for creating a Business Account.
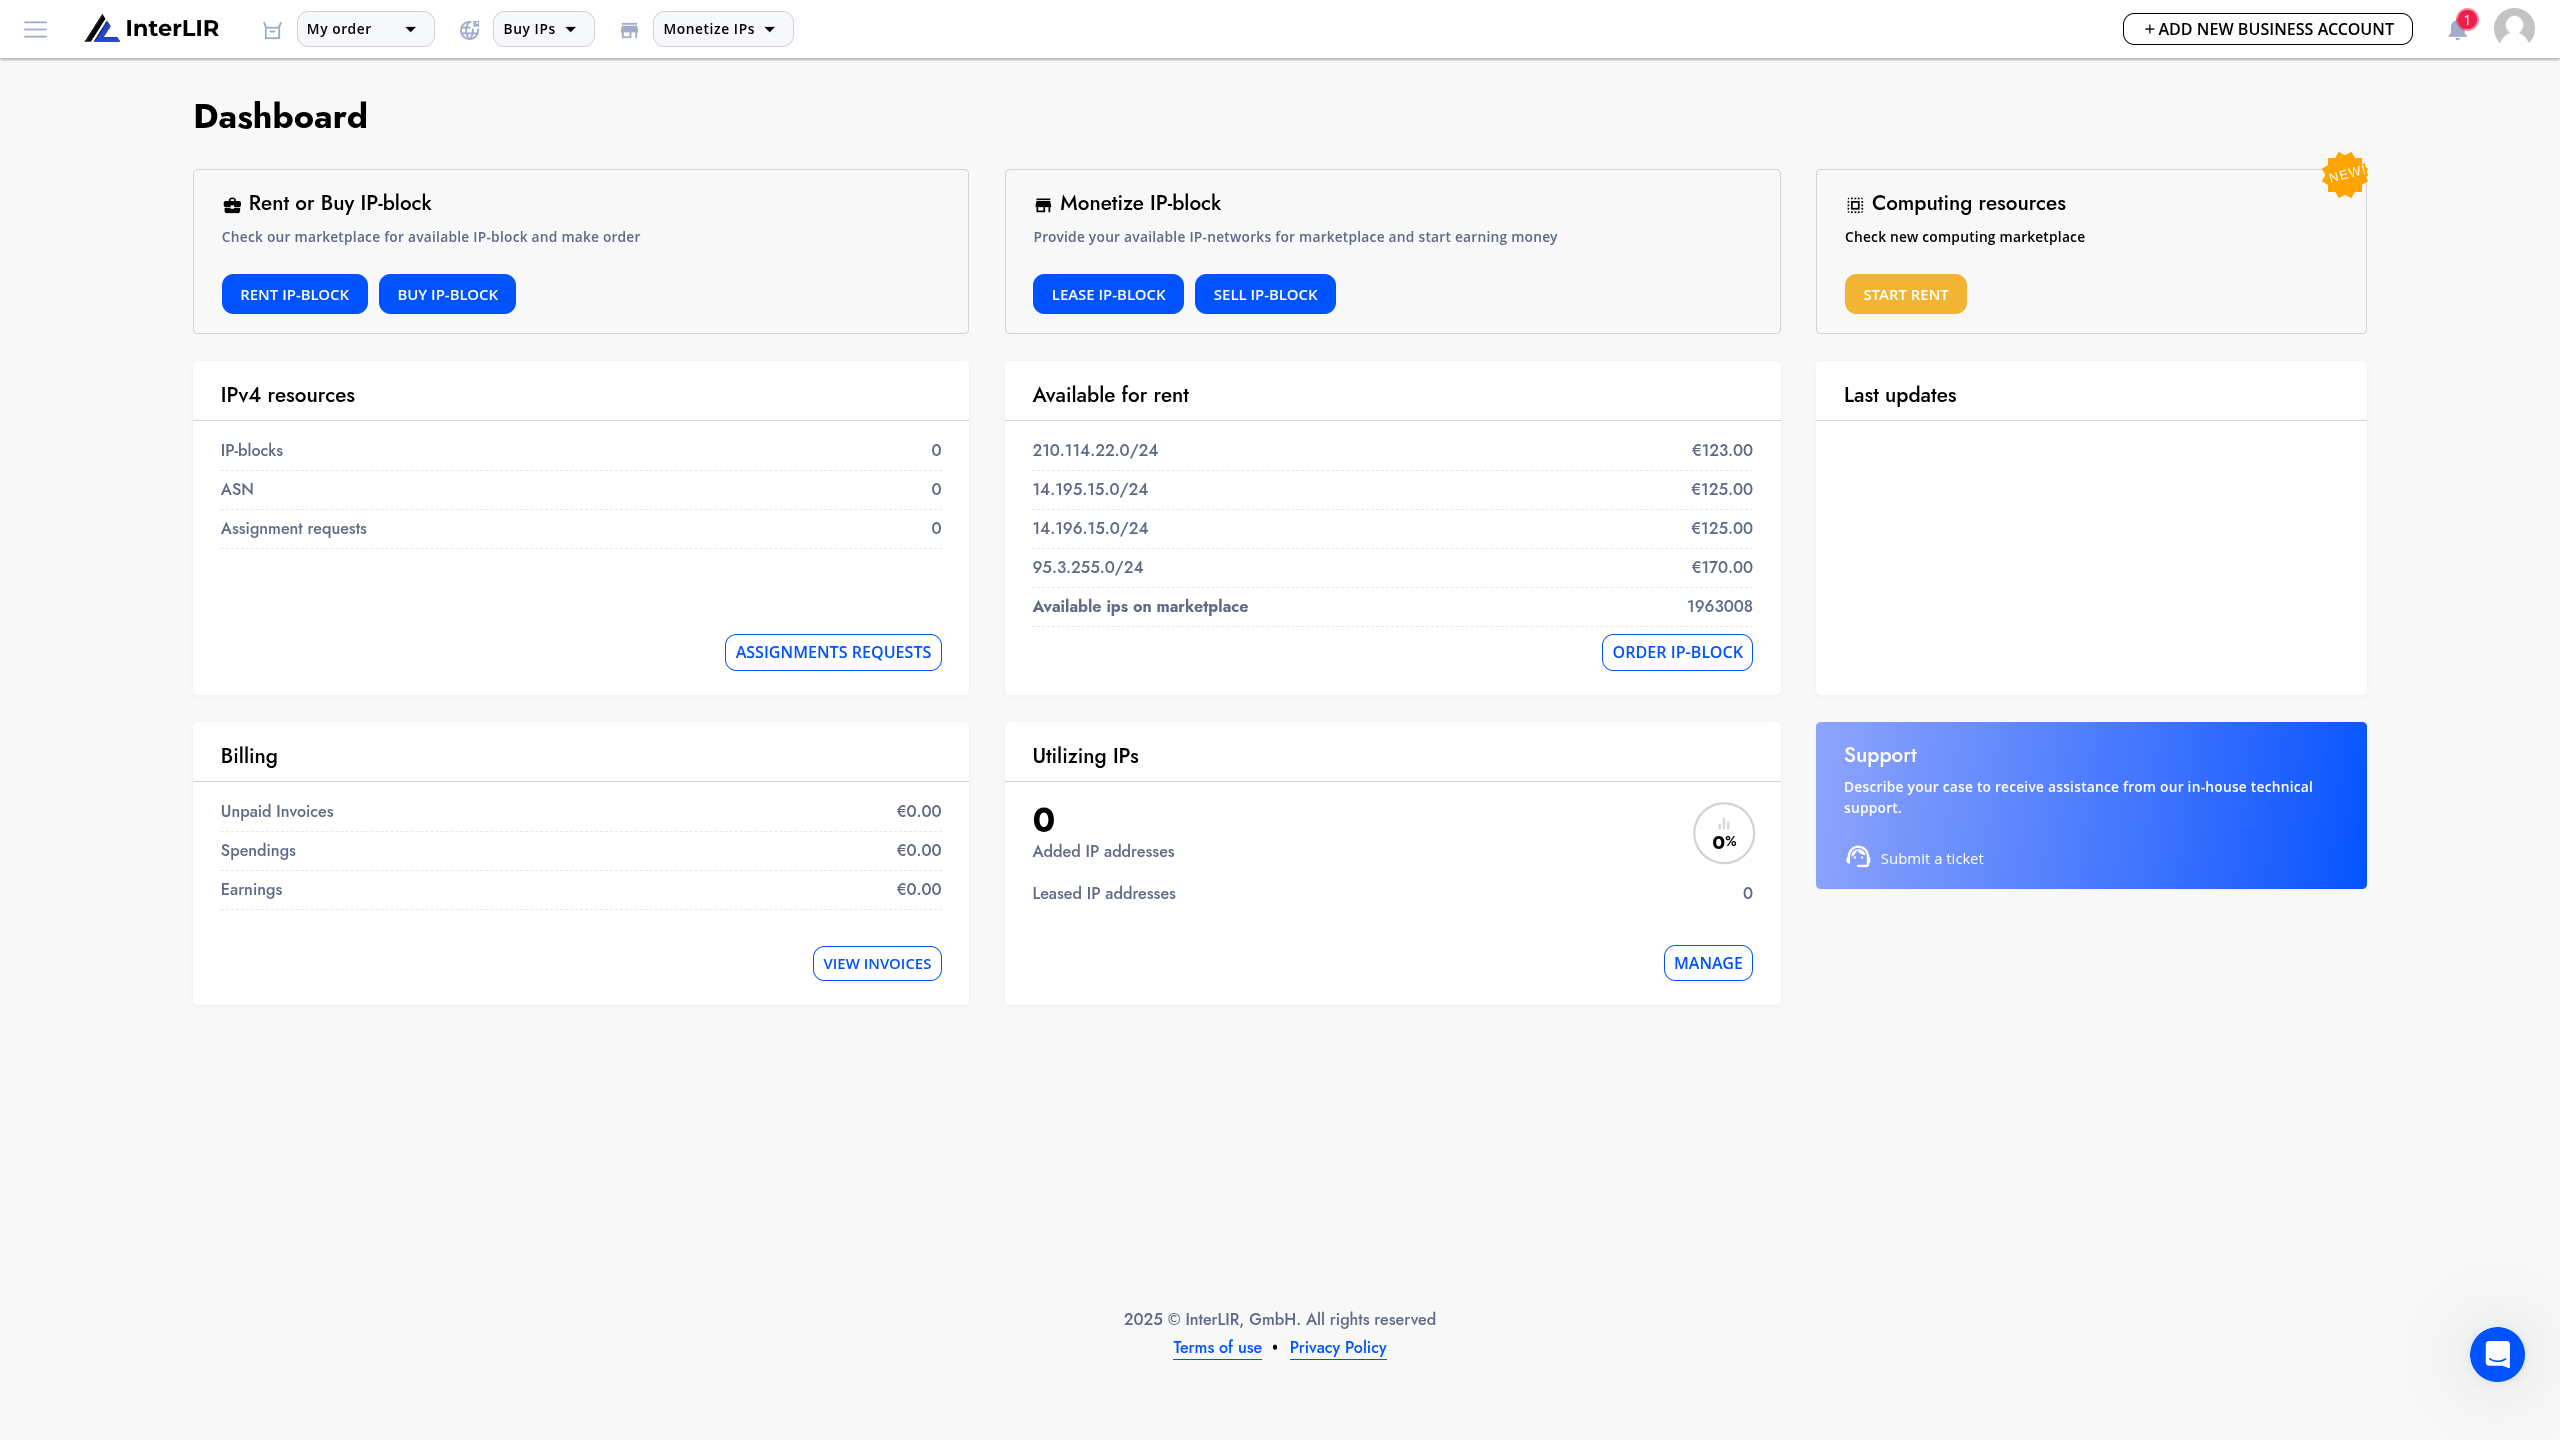
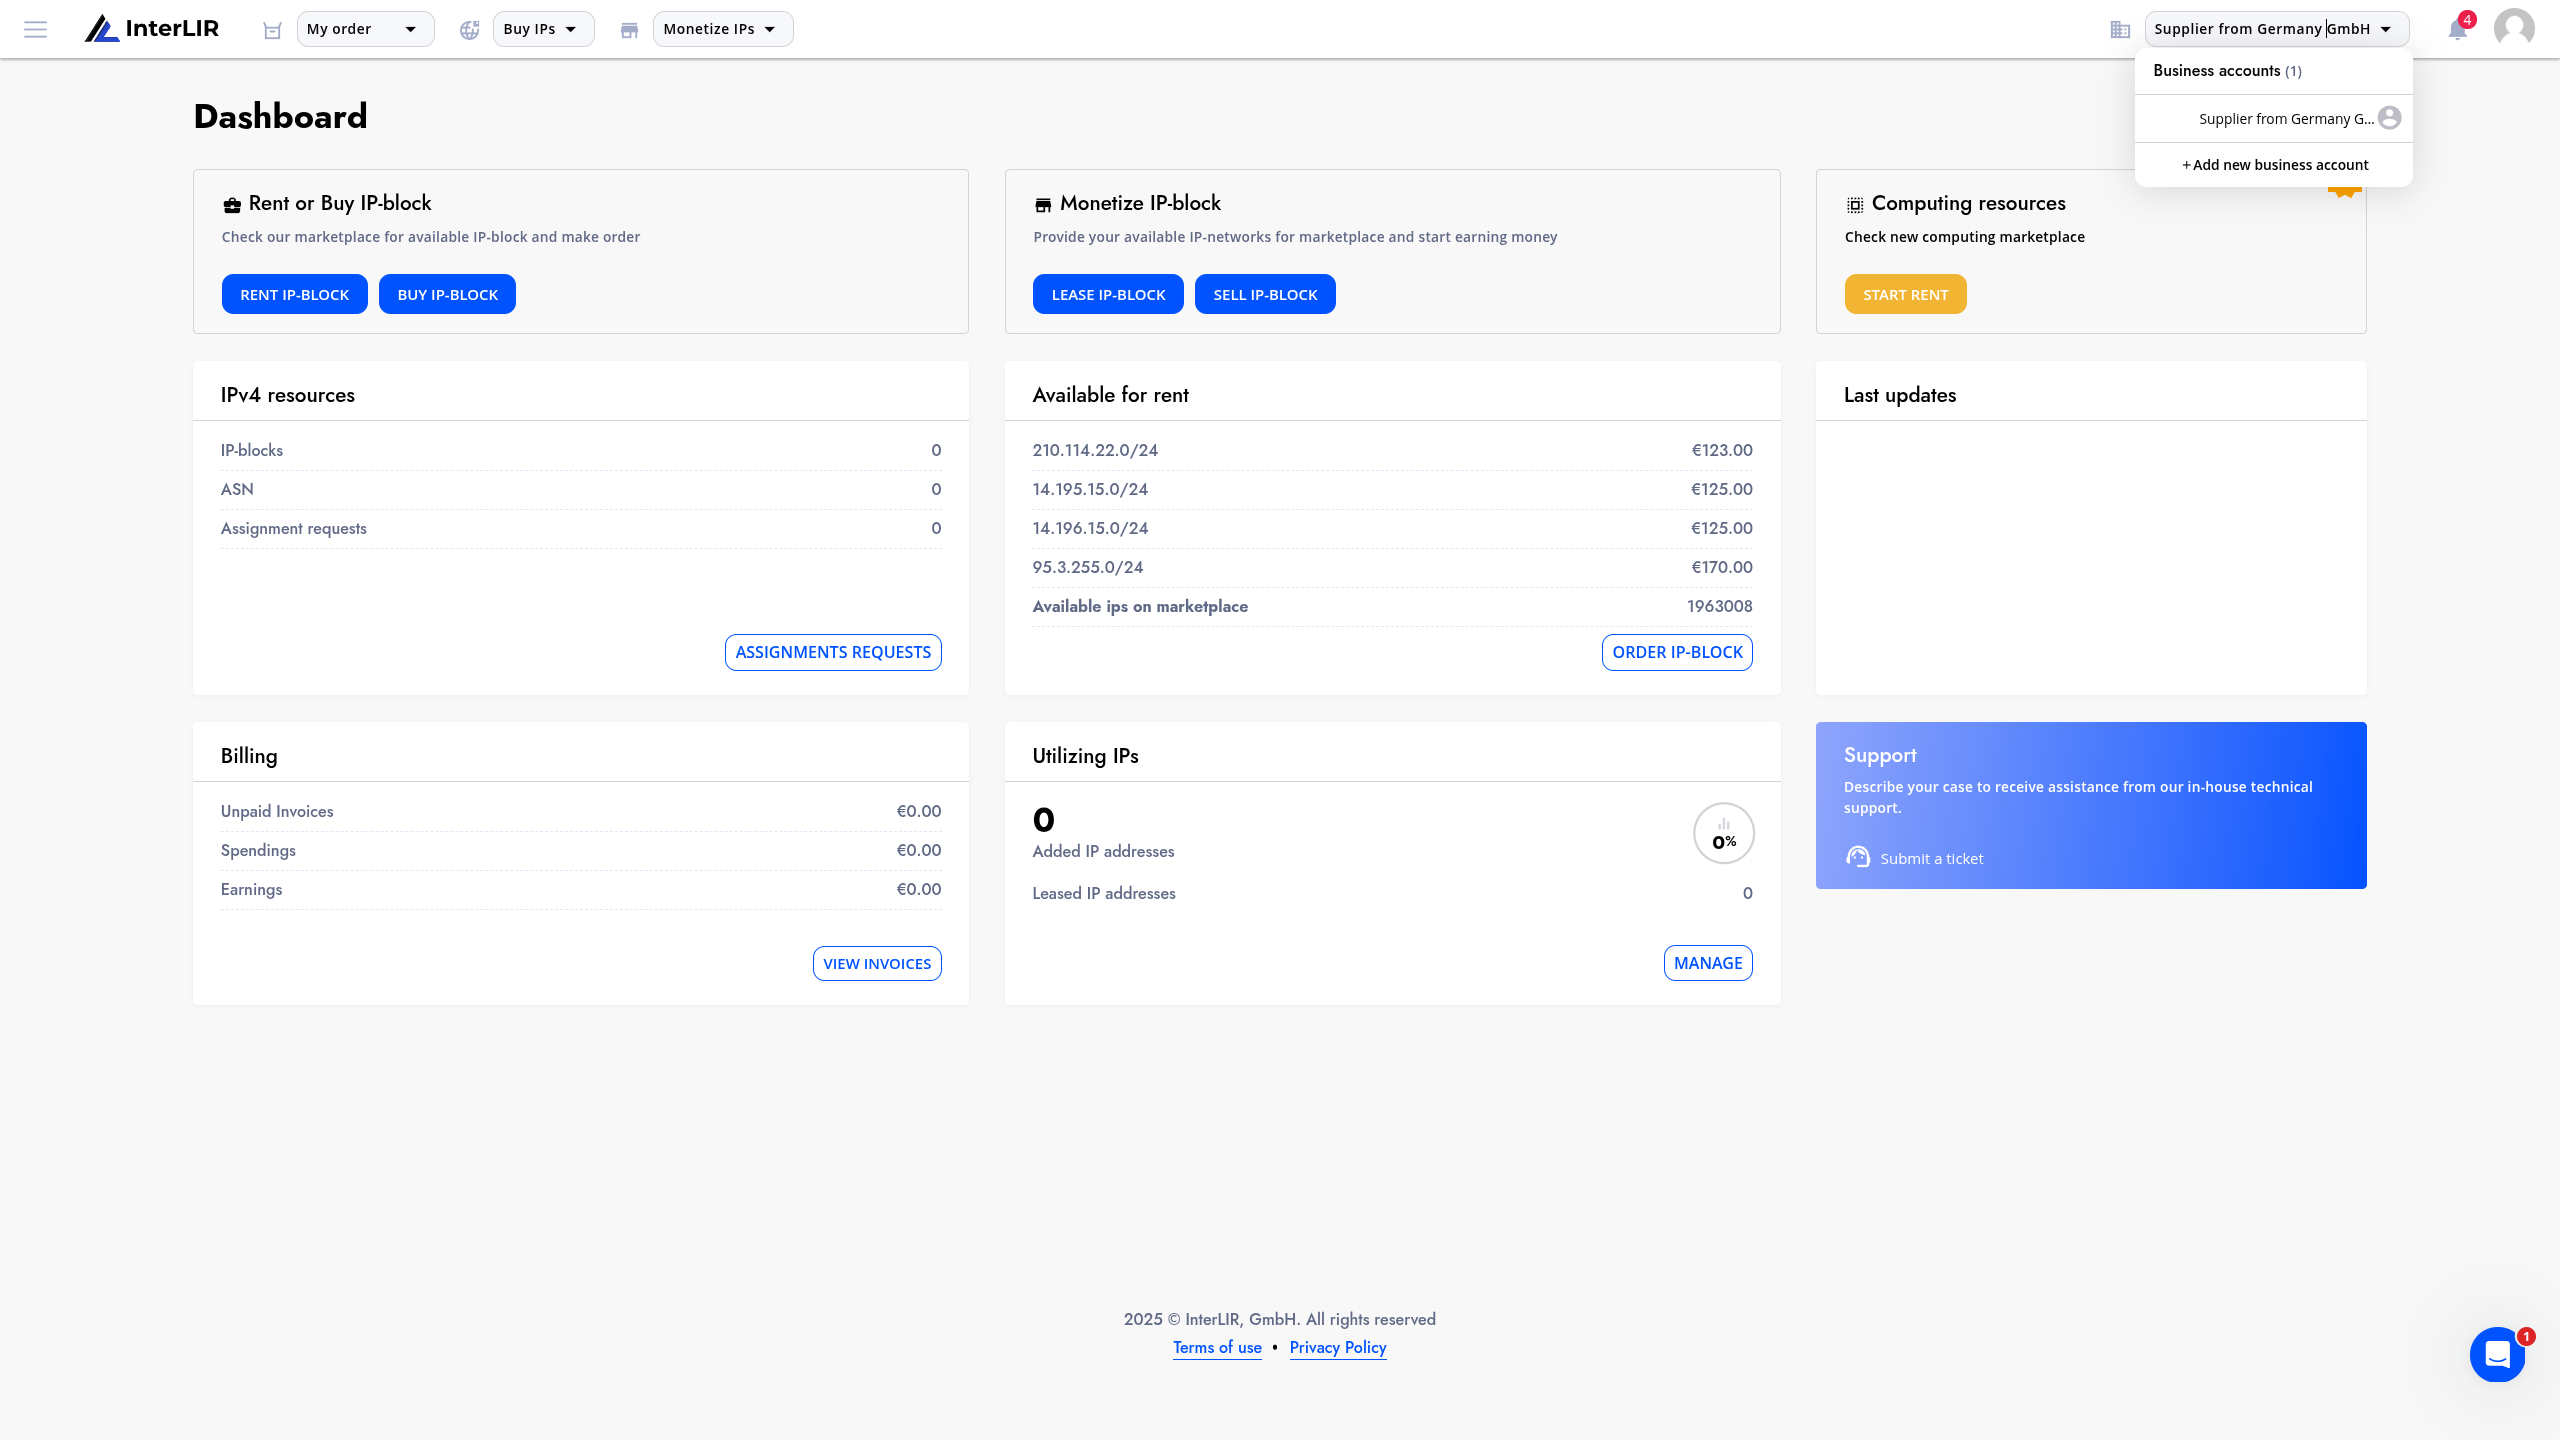
You can click on the Add new business account button in the upper panel, on the right, or click on the Business Account selector and click on this button there if you already have a business account on the platform.
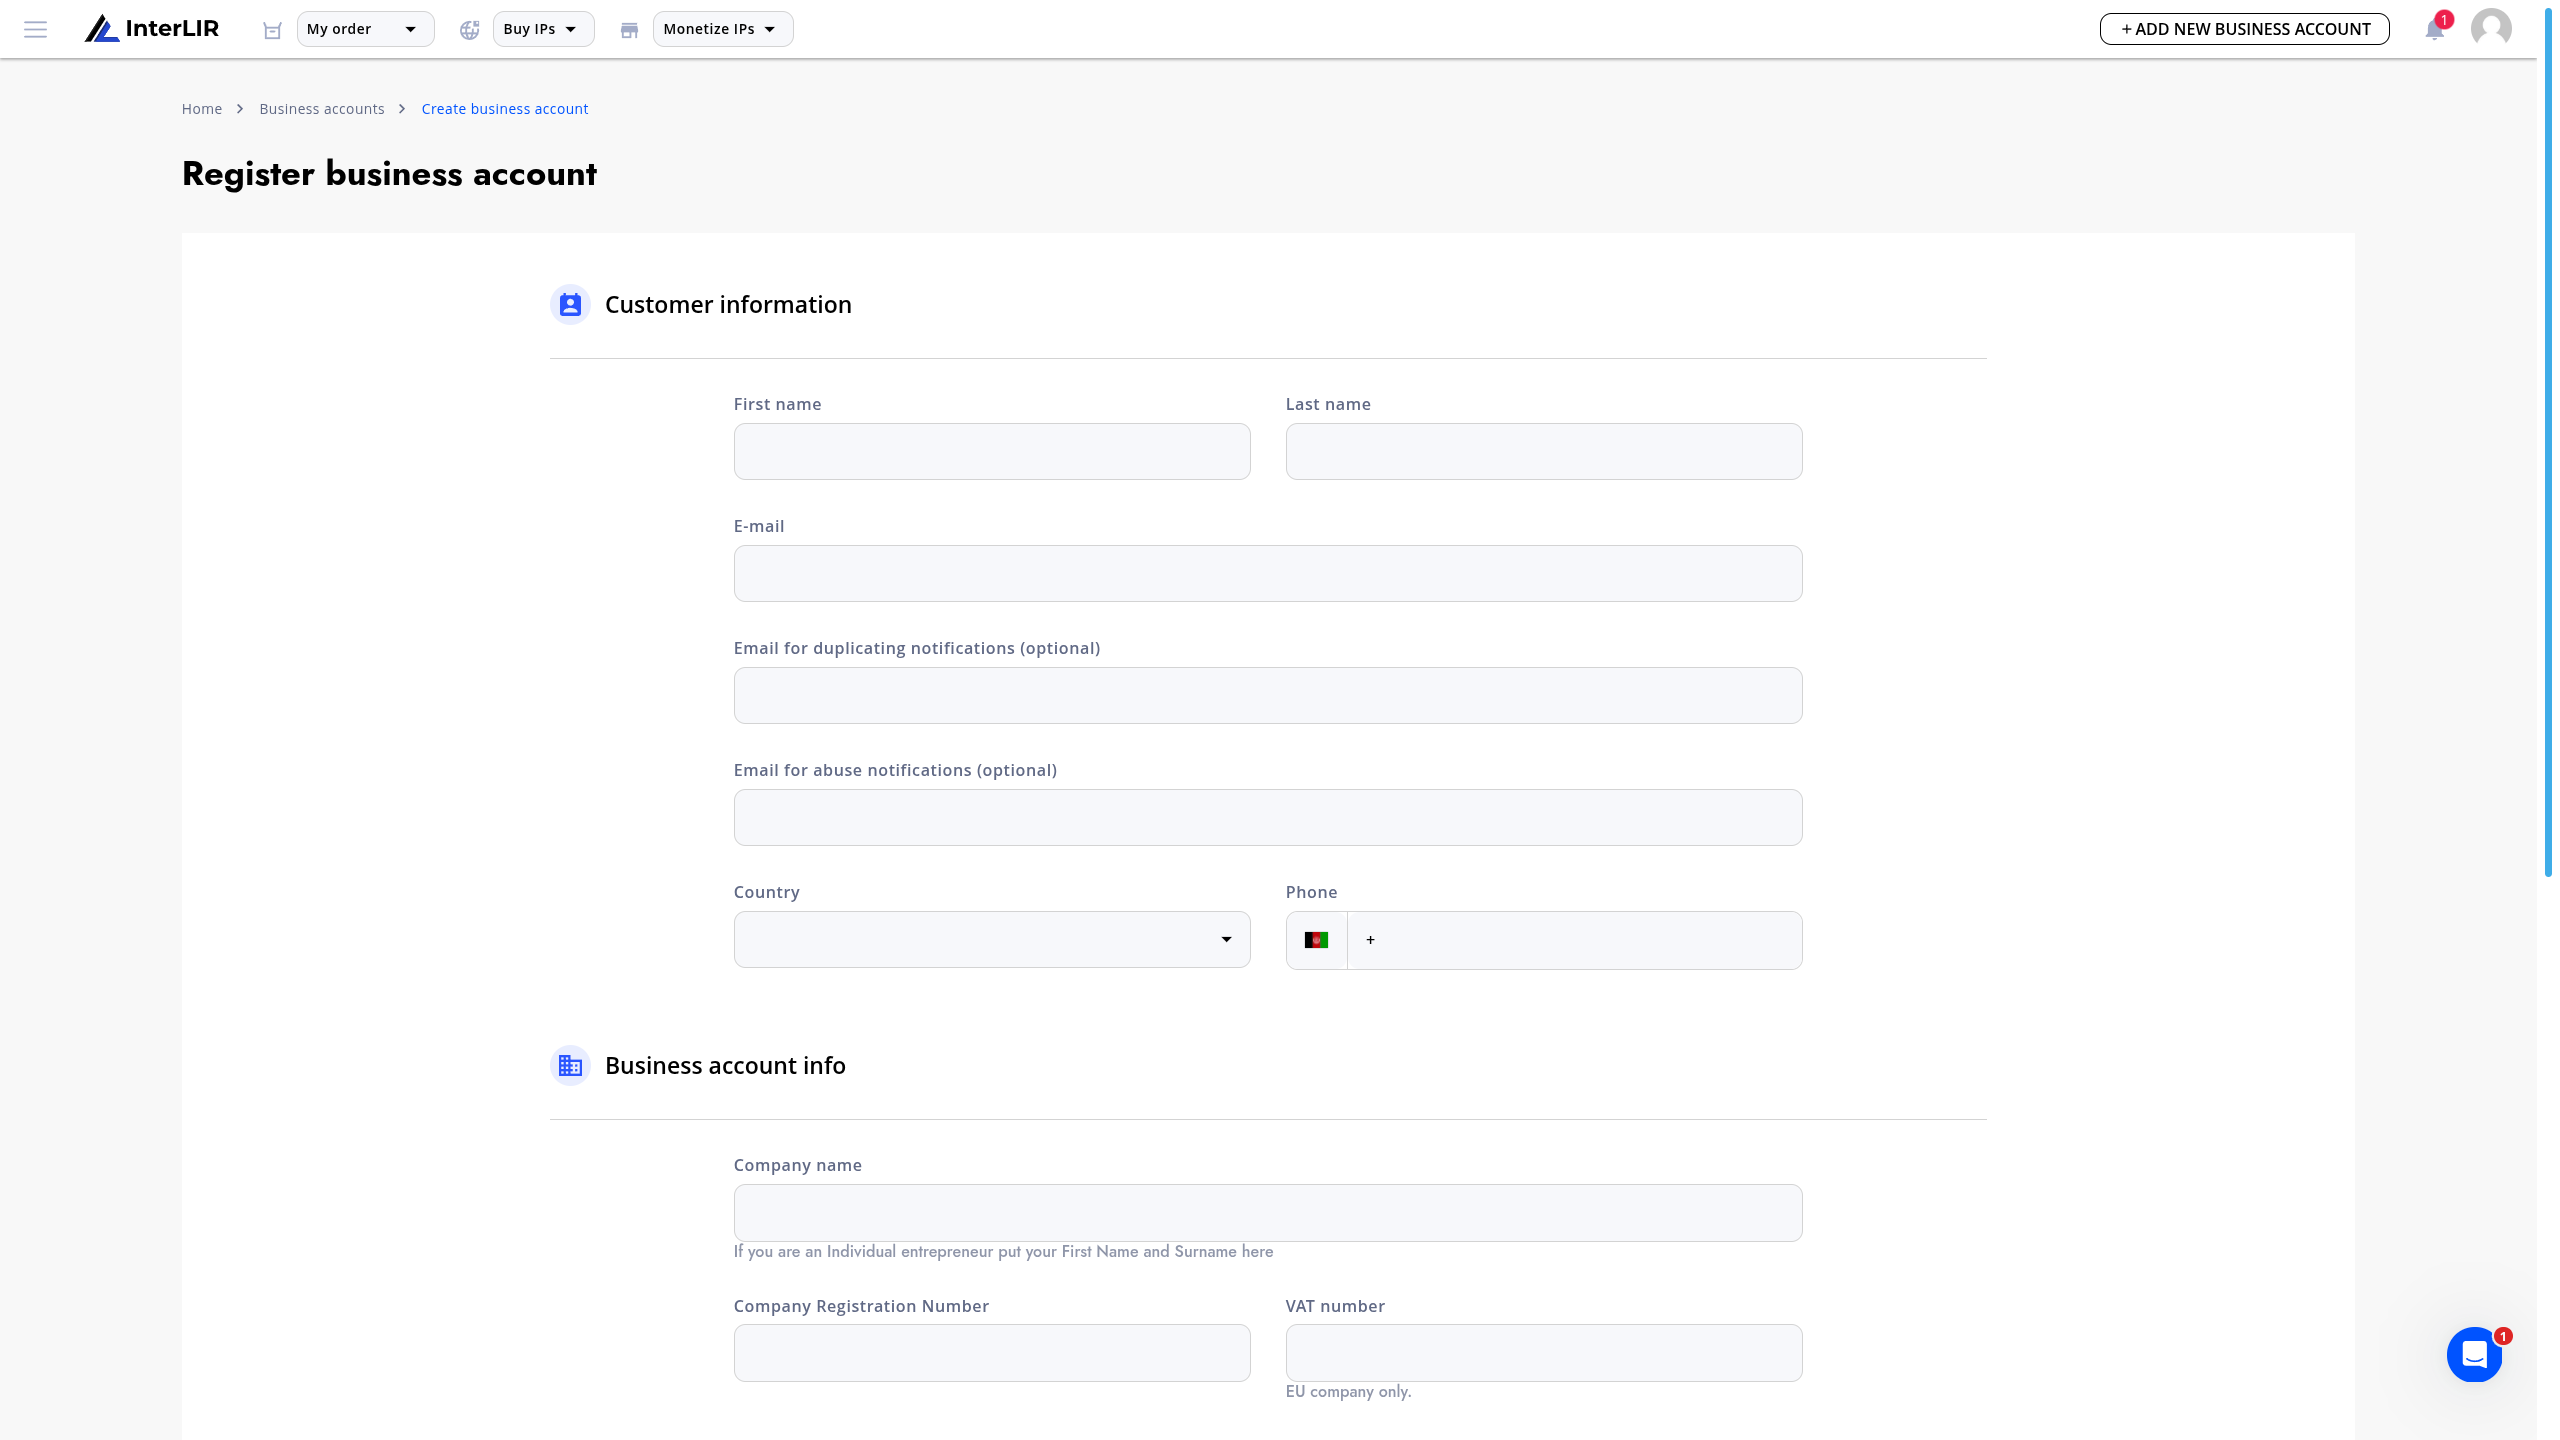
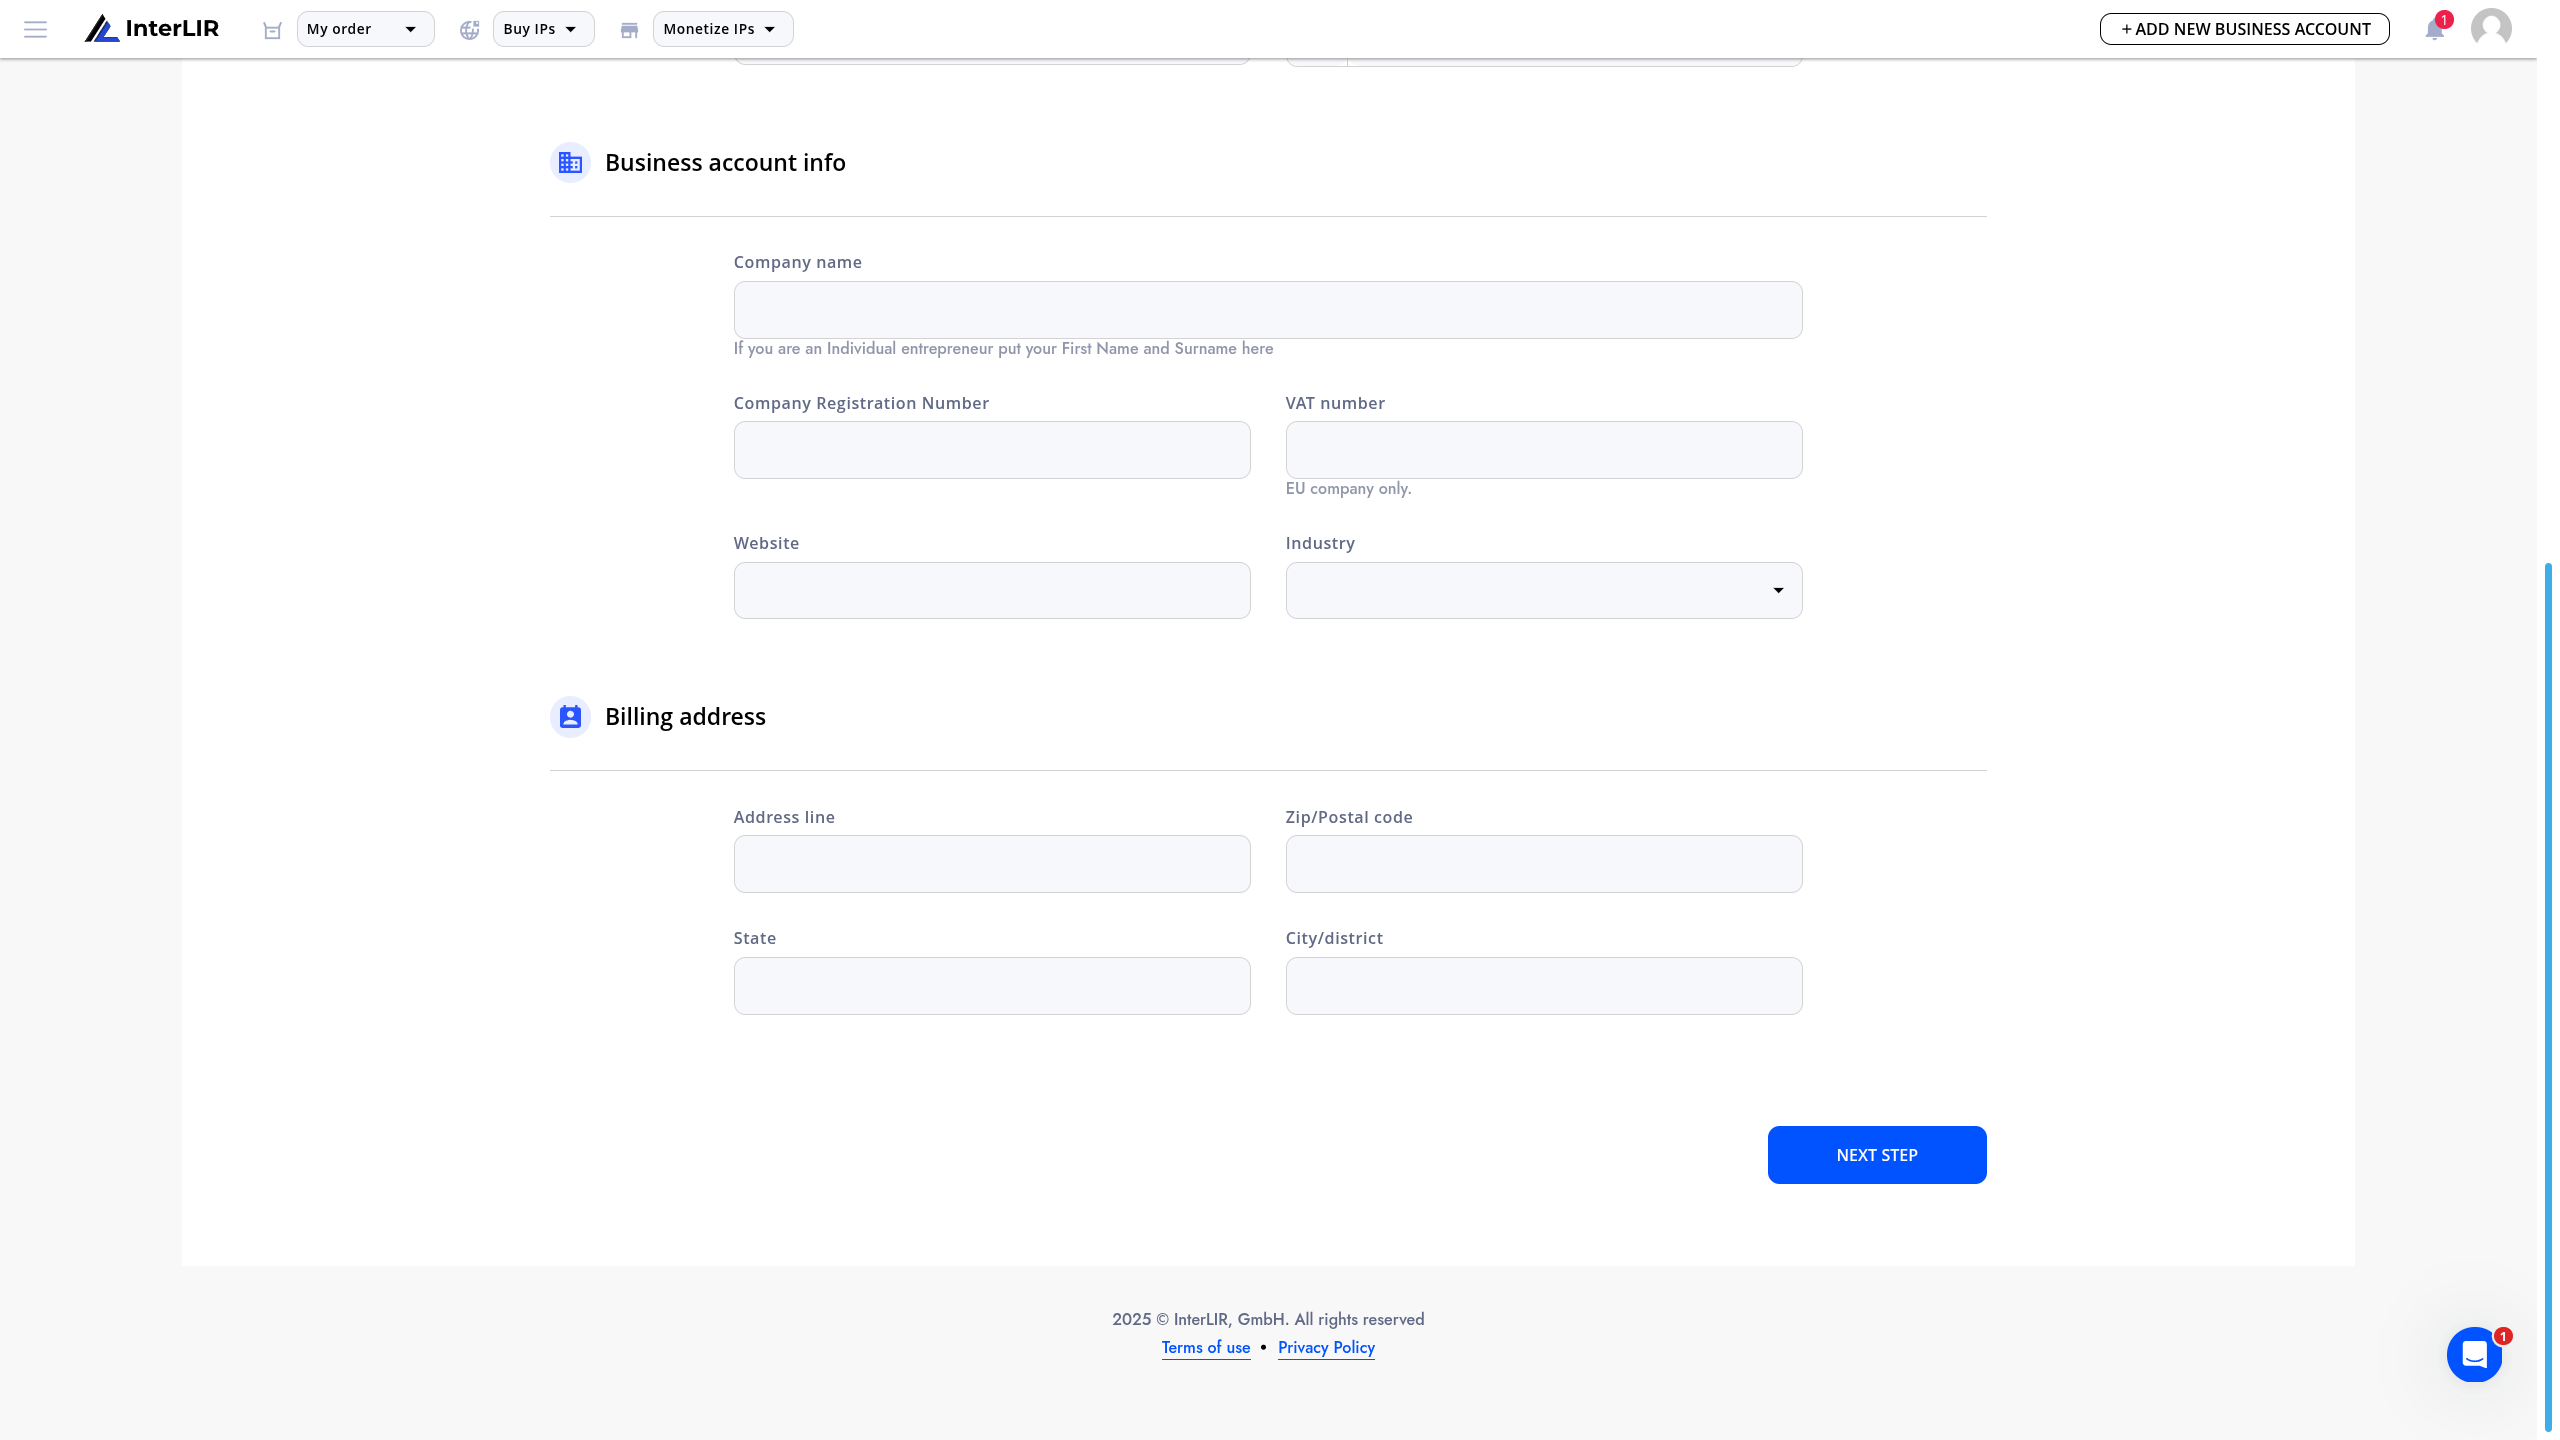
2. Entering Customer Information
The user provides the following details:
- First Name
- Last Name
- Email for Duplicating Notifications (optional)
- Email for Abuse Notifications (optional)
- Country
- Phone
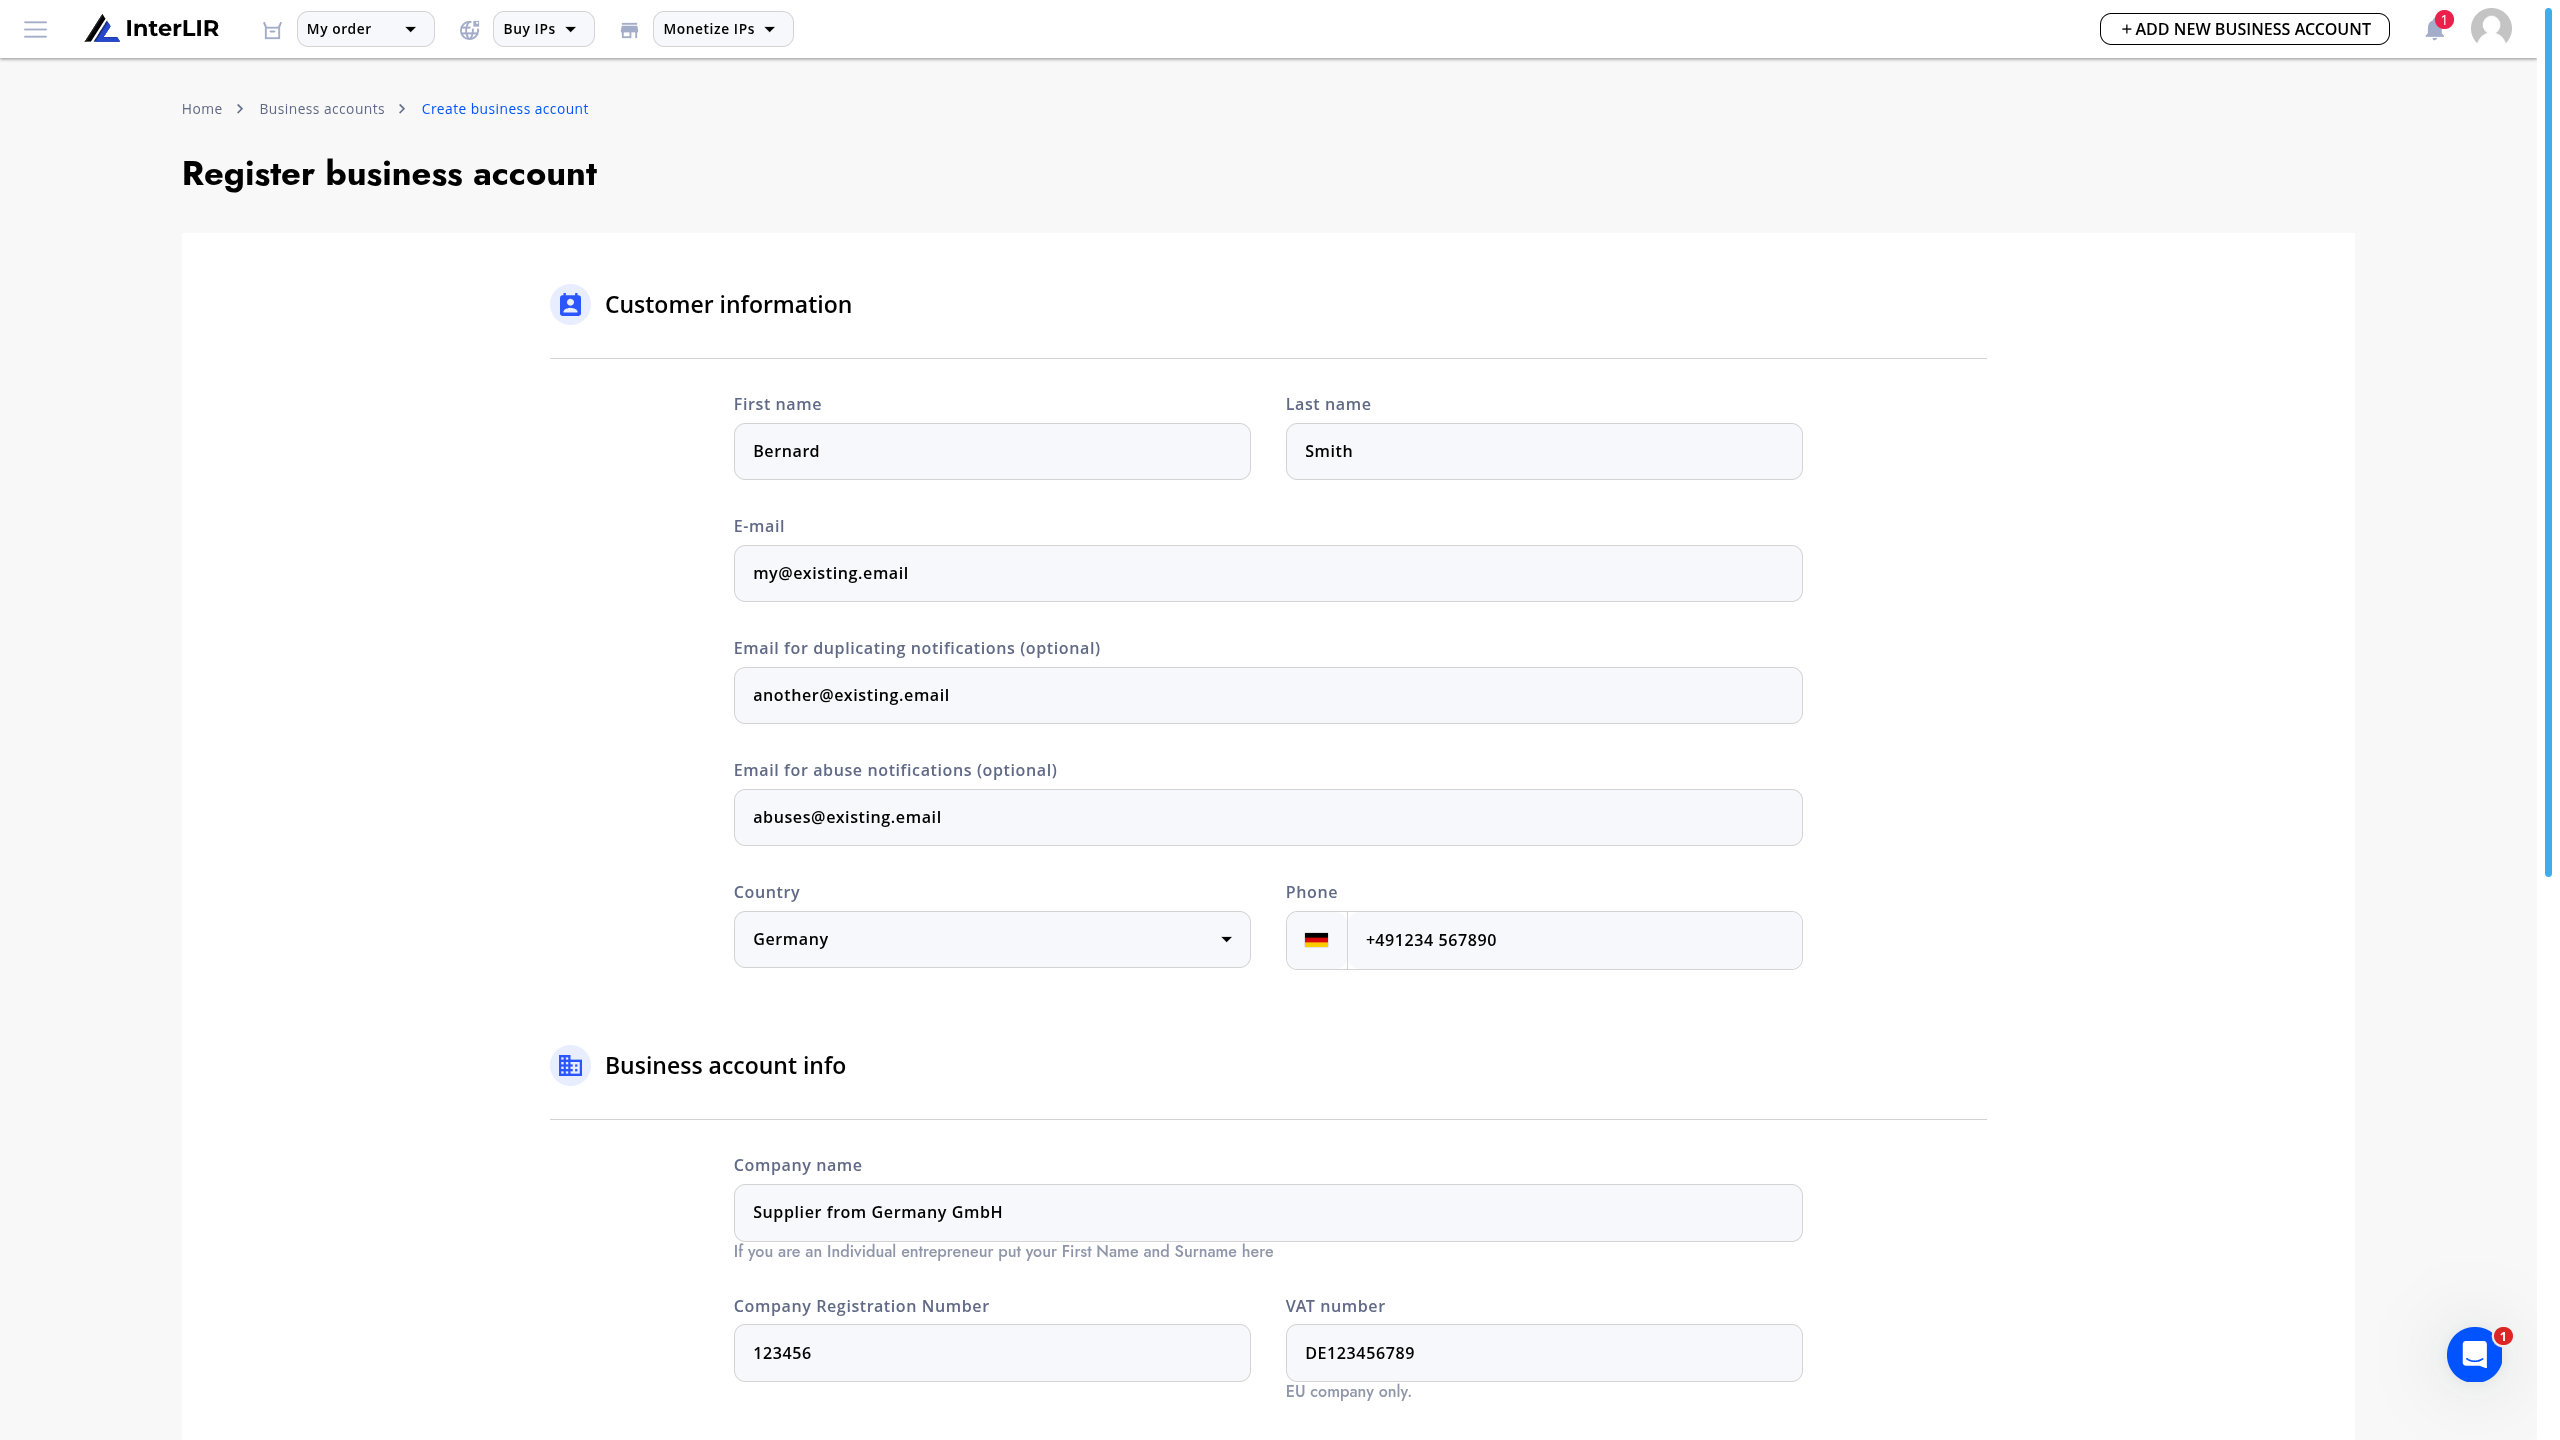
3. Entering Business Account Information
The user enters the following business details:
- Company Name
- Company Registration Number
- VAT Number (mandatory field for organizations from the EU)
- Website (optional)
- Industry
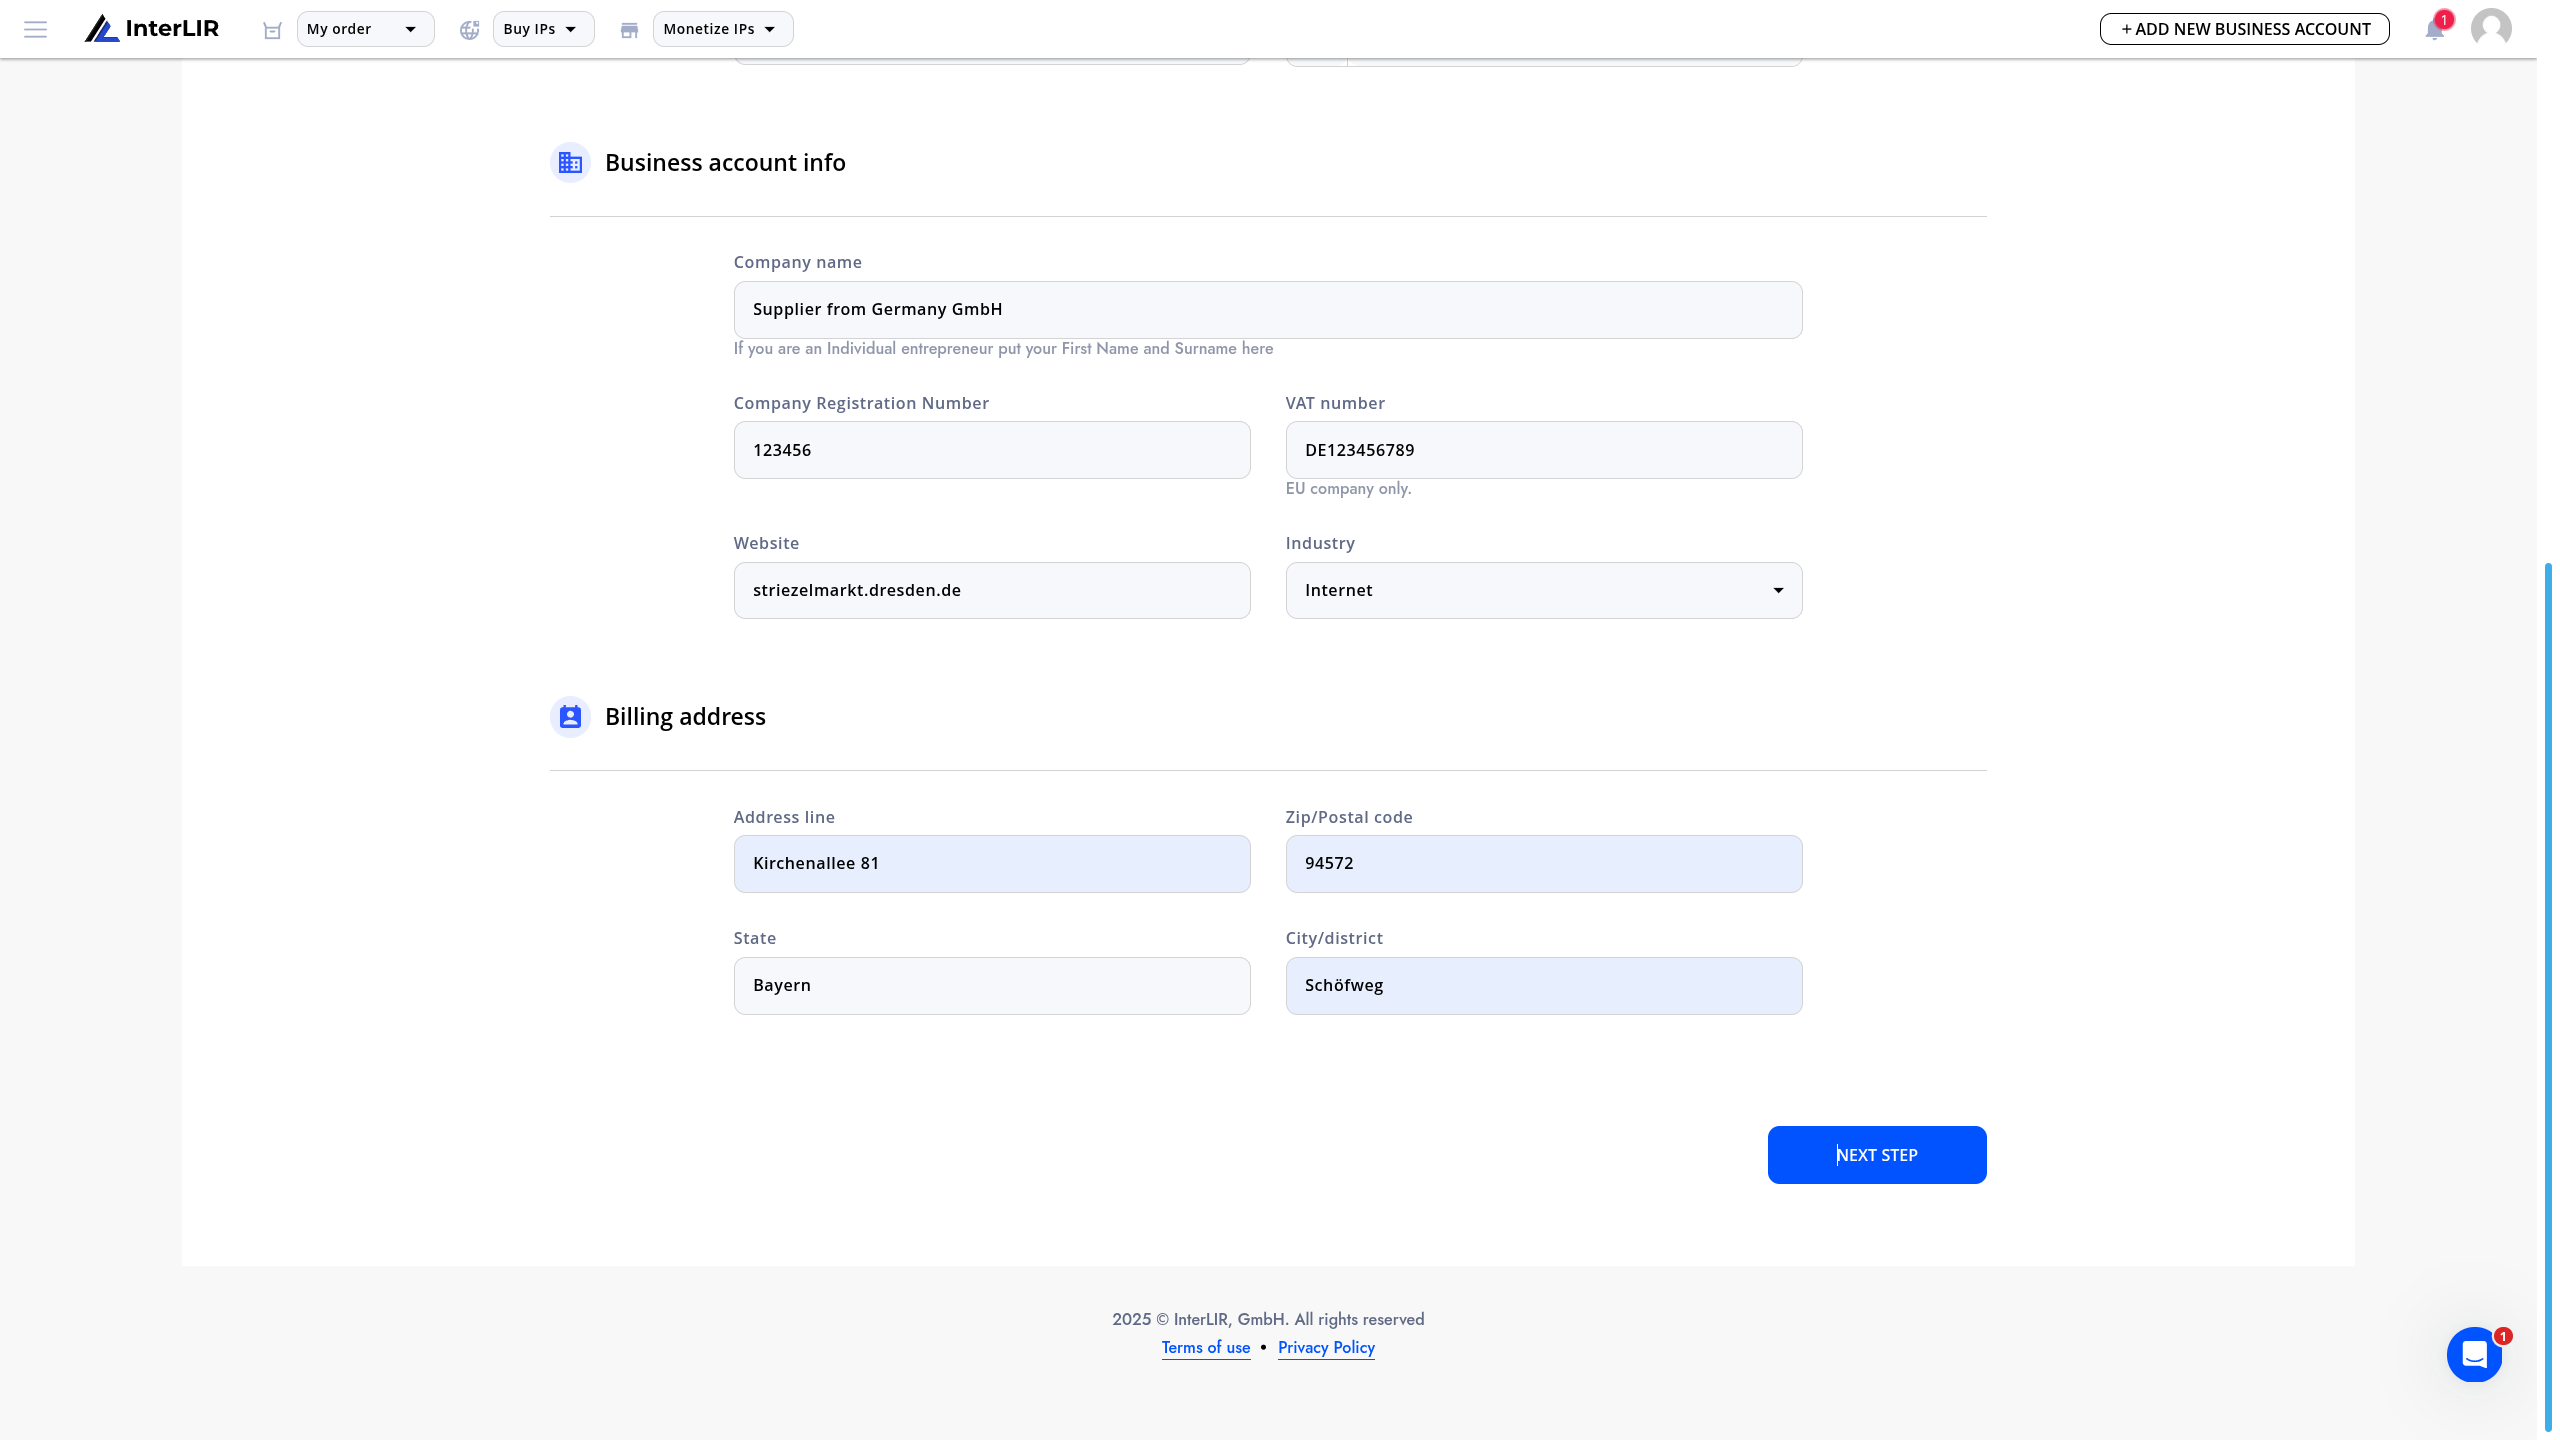
4. Providing Billing Address
The user specifies the billing address, including:
- Address Line
- Zip Code
- State
- City
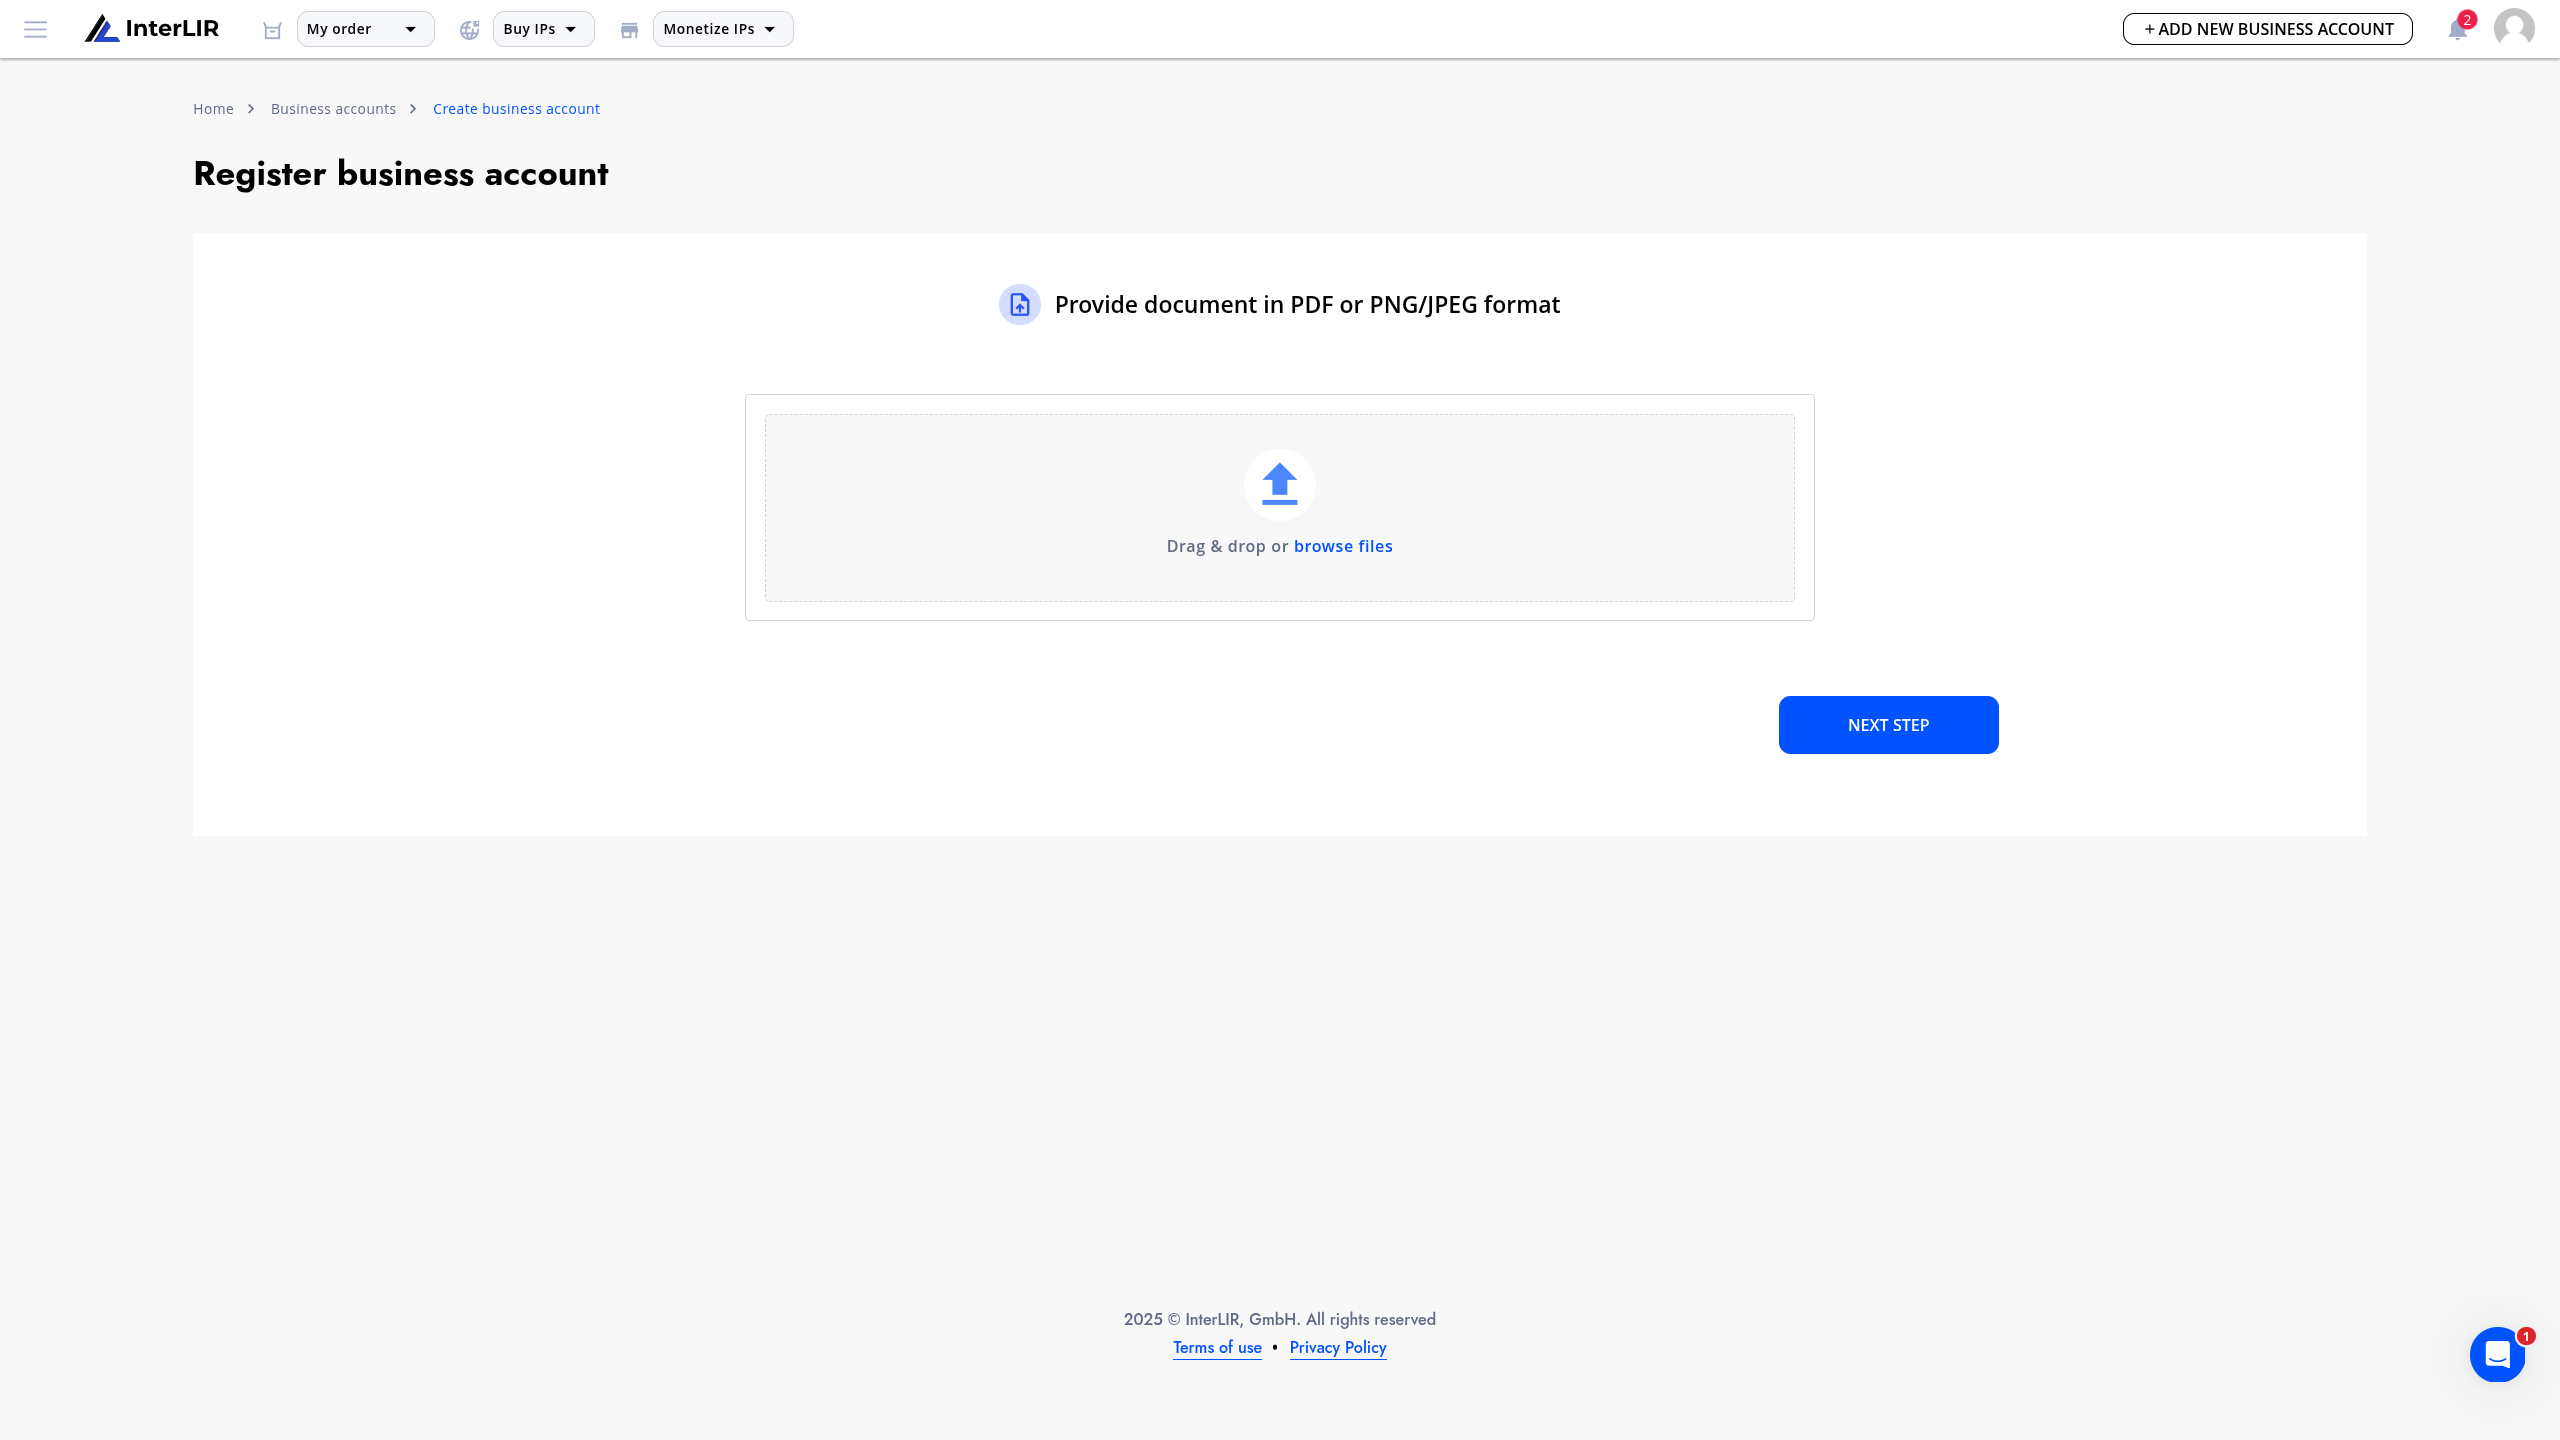
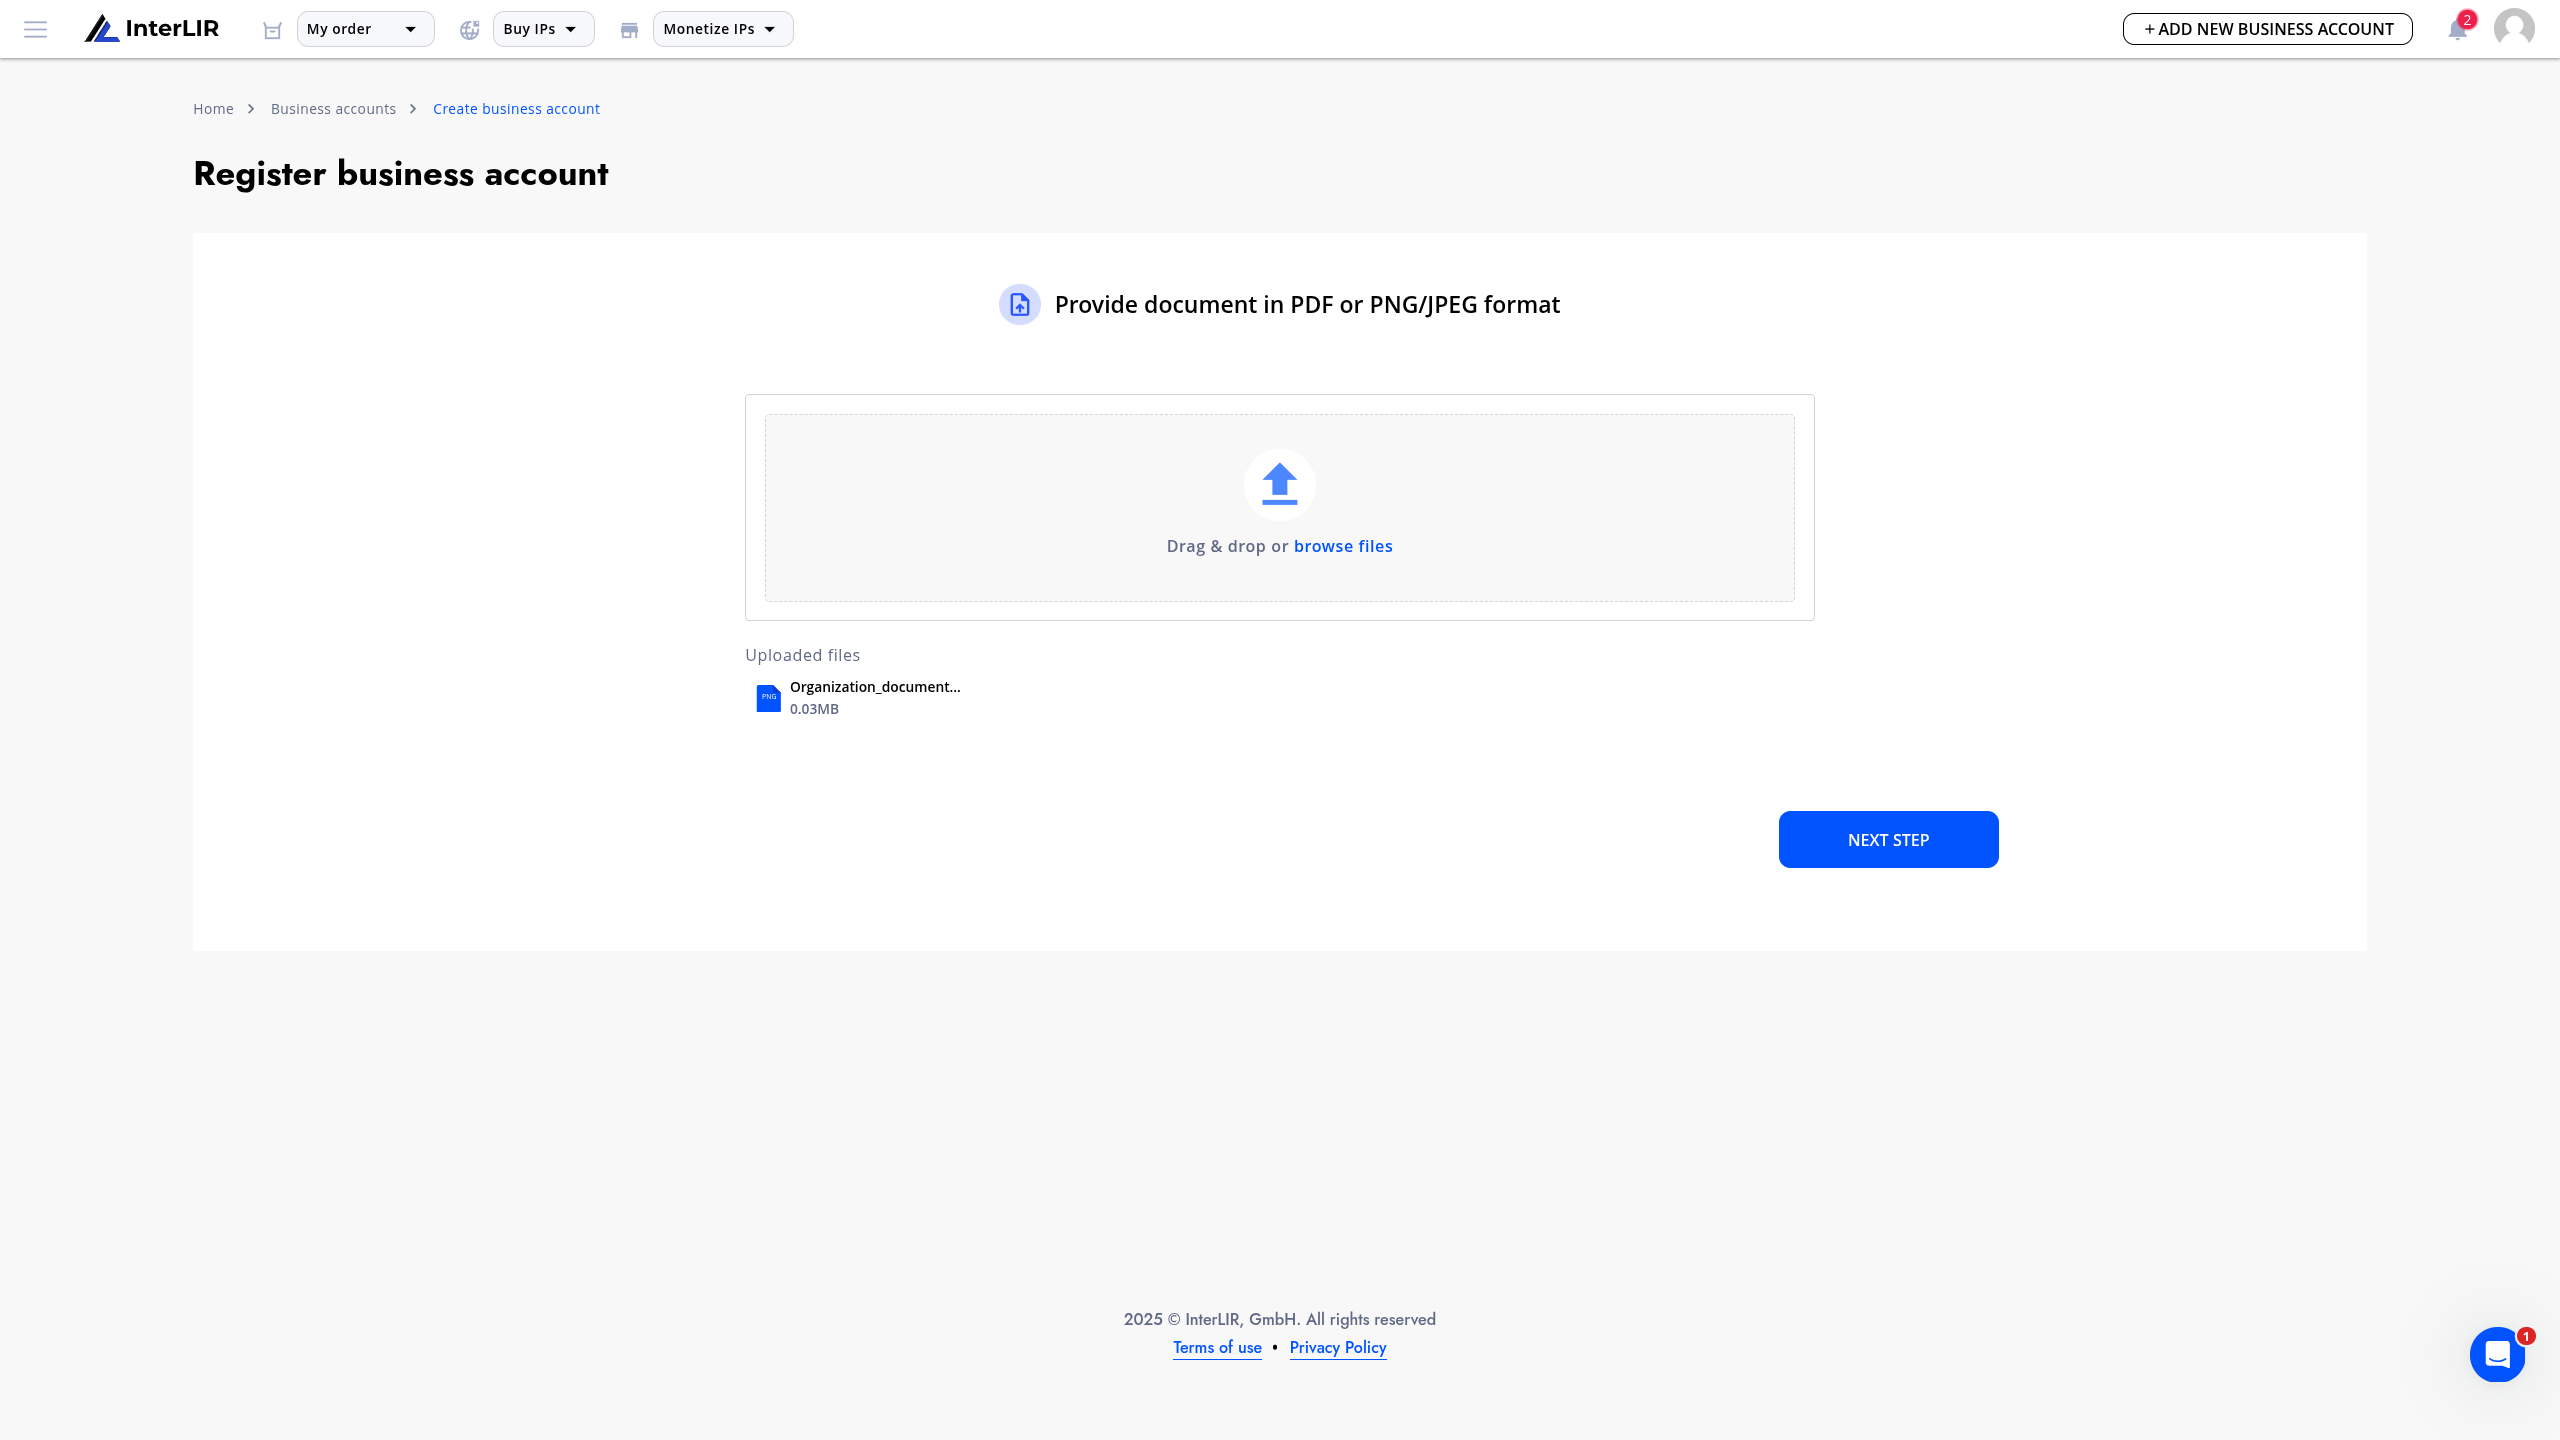
5. Uploading Documents
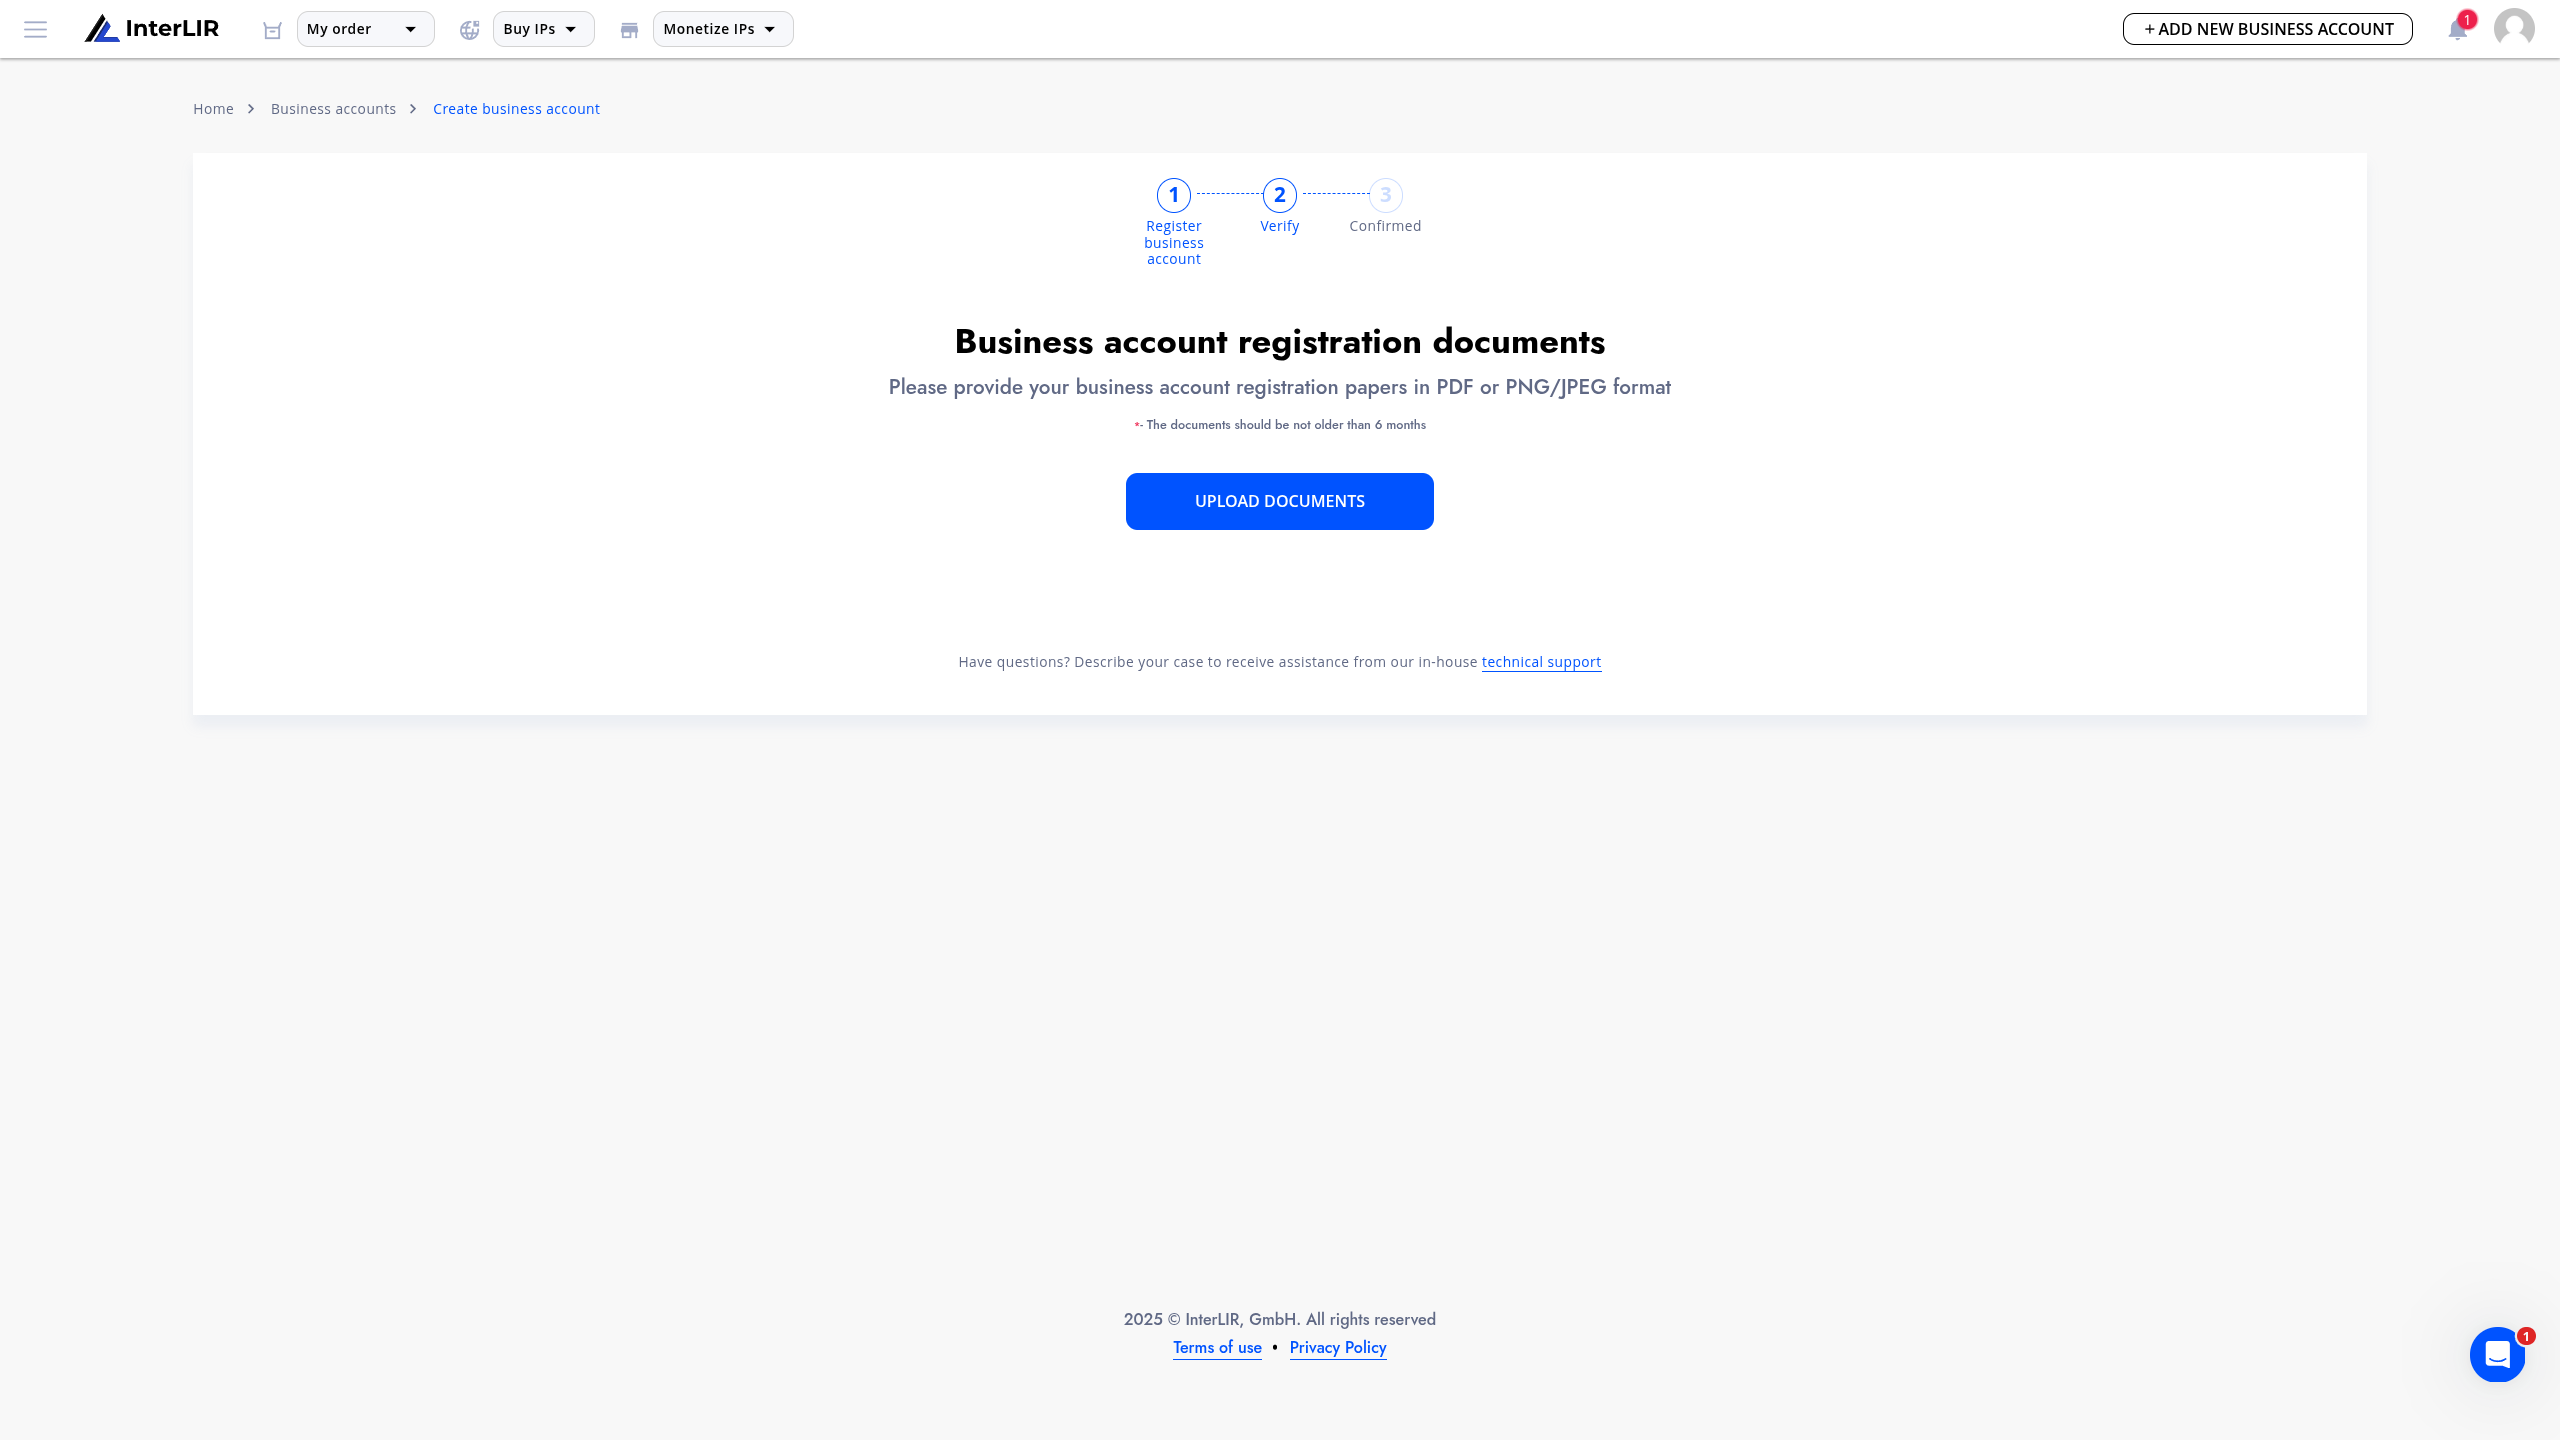
If all required fields are completed correctly, the user proceeds to the document upload step.
- The user uploads documents in the required format.
- If the document is valid, the user submits a request for Business Account creation.
6. Manager Review
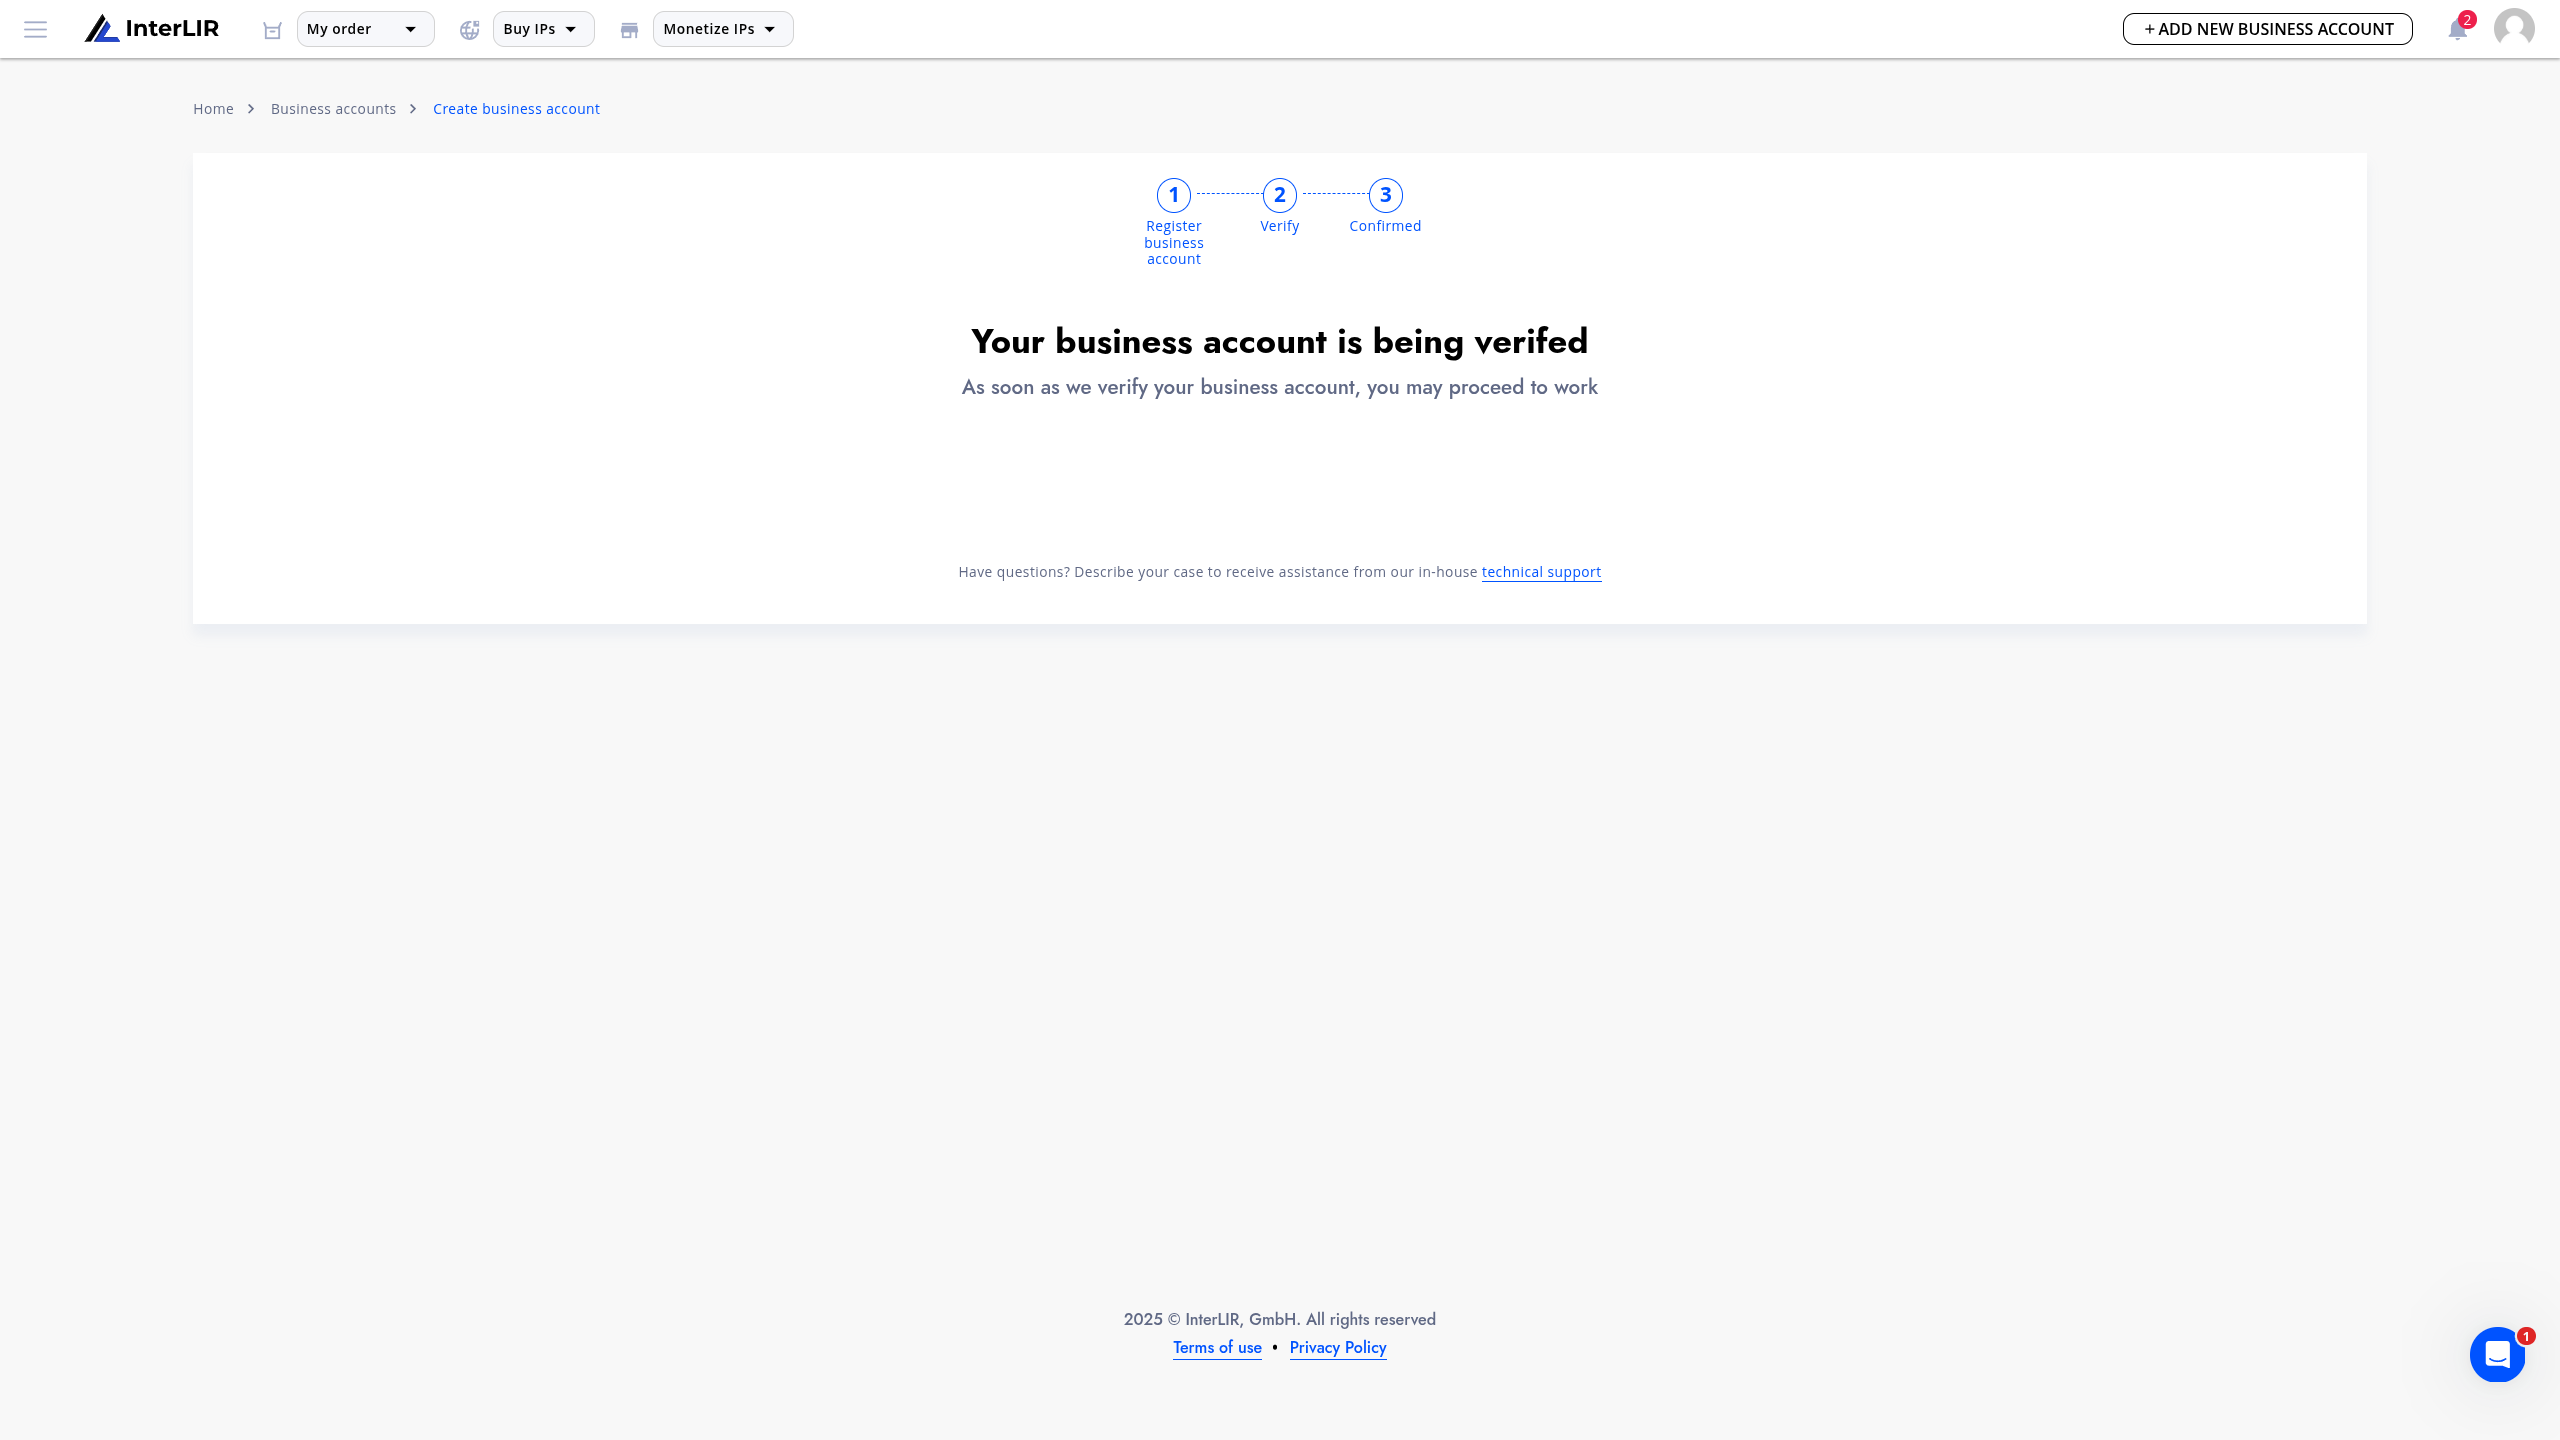
An InterLIR Global Manager receives a notification about the new Business Account creation request.
- The manager reviews the request.
- If everything is in order, the request is approved.
- If there are issues, the request is rejected, and the manager asks the user to make corrections.
Completion:
Once the user receives approval for the Business Account creation, the process is complete.
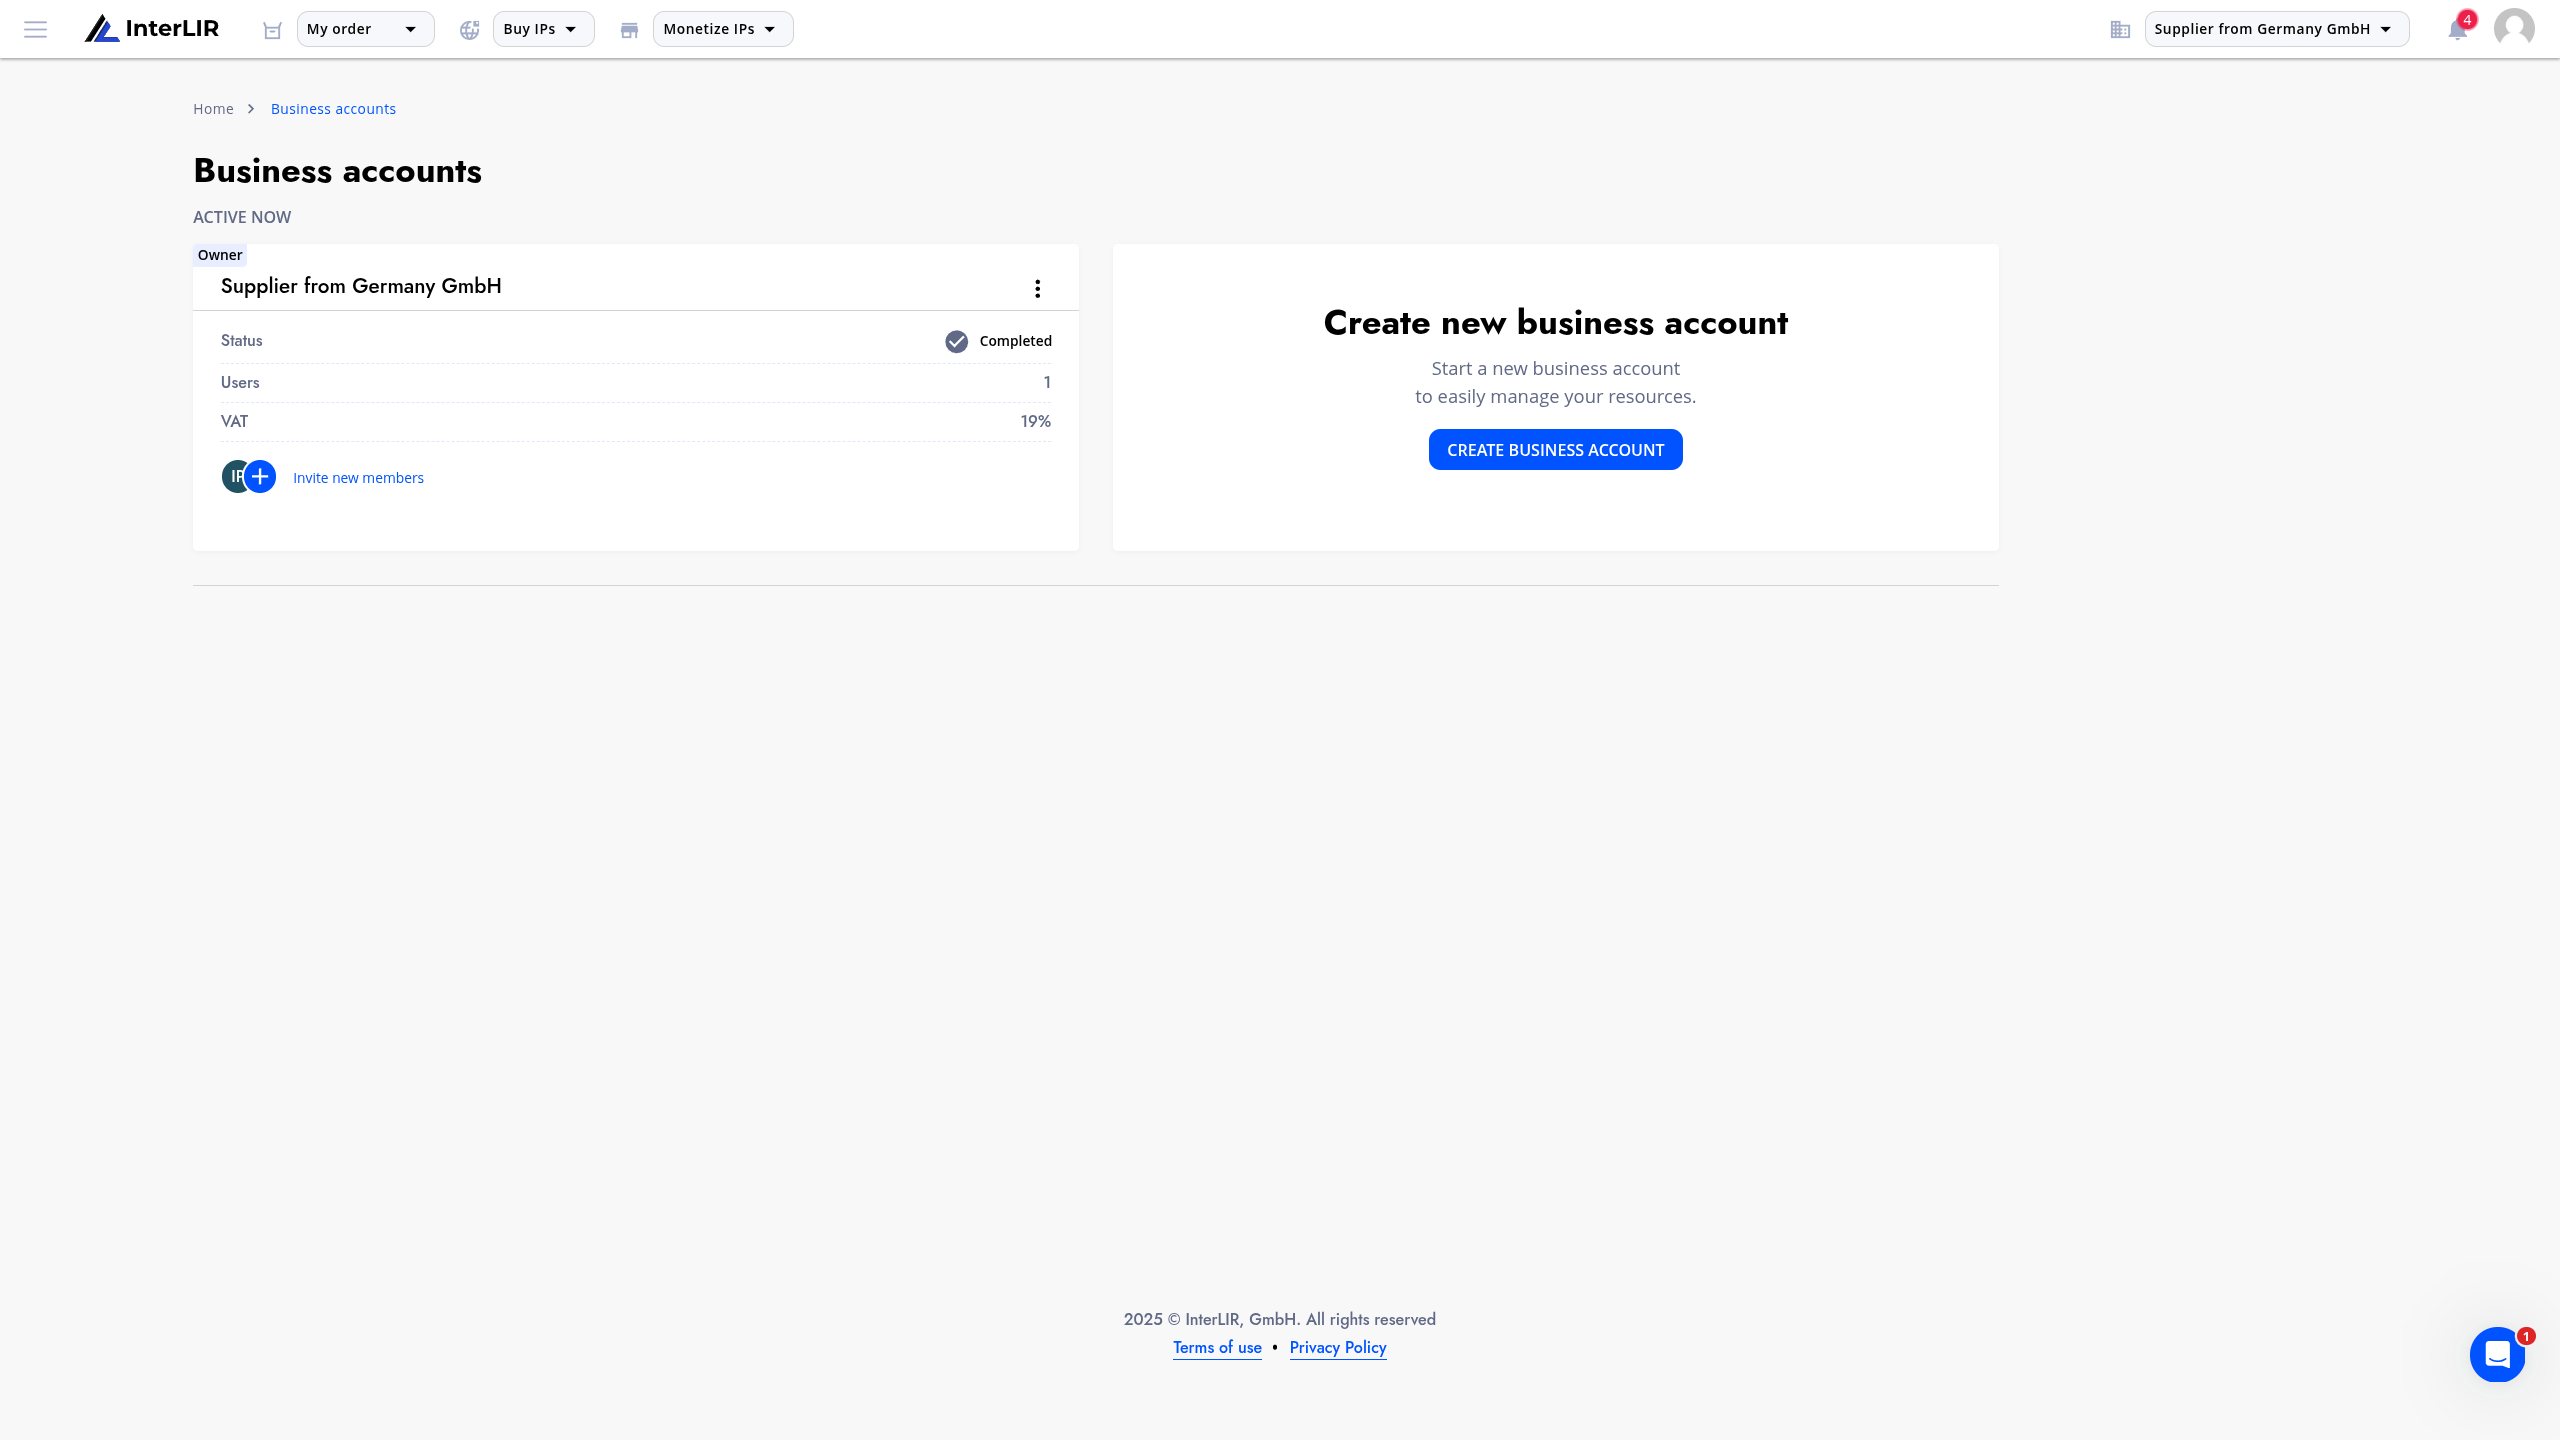
It is possible to have multiple business accounts on the platform, so that the import procedure can be repeated for another organization.
What’s next
- For suppliers: proceed with Stripe Onboarding and then Import an IP-Block.
- For customers: go to How to Make an Order.
- Secure your InterLIR Global account: How to Manage TFA